Cupid’s Arrow Valentine’s Day Craft for Kids
This page may contain affiliate links. Learn More.
This cupid’s arrow Valentine’s Day craft has become a family favorite! When my oldest kids were toddlers, I would make them as a Valentine’s Day gift and they would have so much fun throwing them around!

Cupid’s Arrow Simple Valentine’s Day Craft Tutorial
For the last few years, my kids have been making these to hand out at Valentine’s Day exchanges (a tea party is one of our favorite ways to do this!) and there is always so much delight from the recipients! There is also a lot of throwing.. they are arrows, and meant to fly after all. 🙂
Thankfully, they’re pretty soft (paper straws + felt “arrowheads”) and I feel good about letting everyone throw these around freely!
We opt to use hot glue to hold them together (they last longer and hold up to the throwing better this way) so this an “adult supervision required” project.
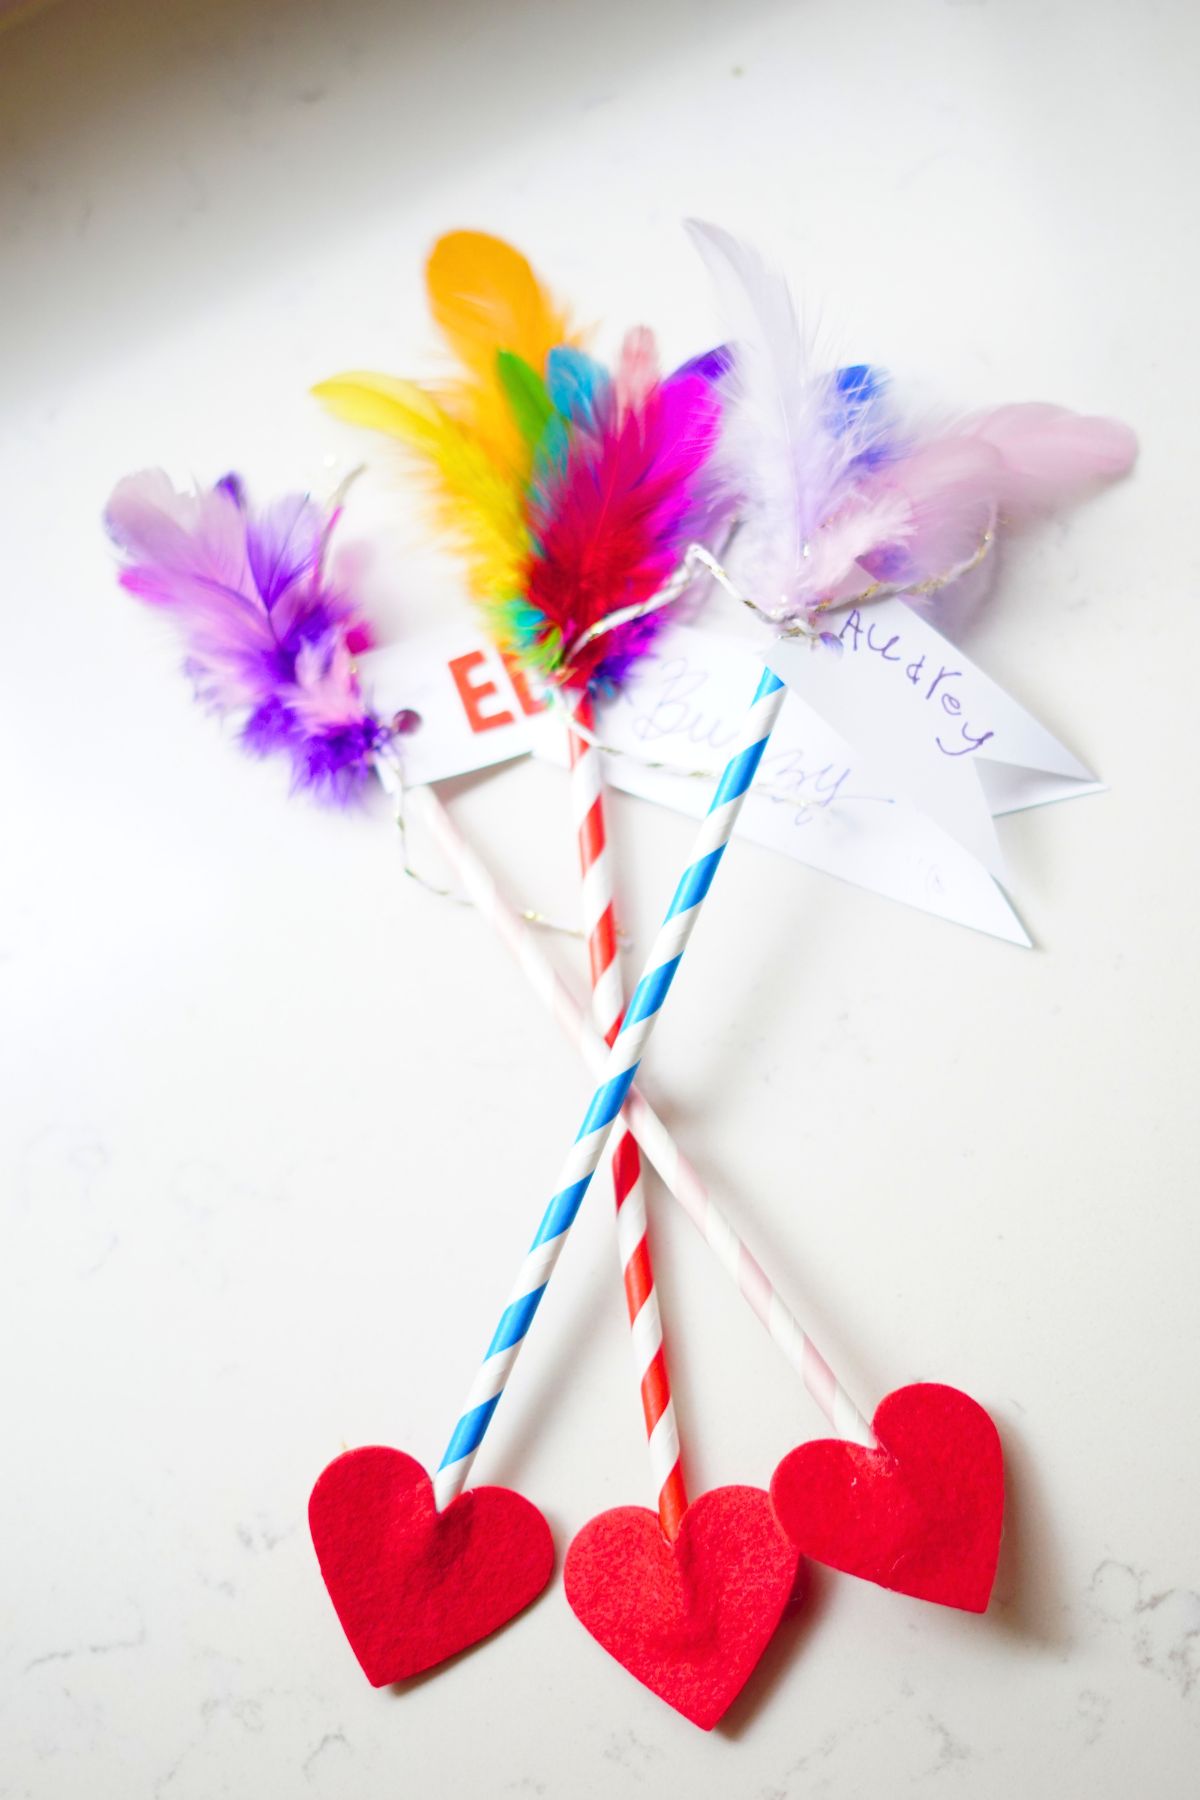
Supplies for Cupid’s Arrow Valentine’s Day Craft for Kids
The supply list for this DIY Valentine’s Day Craft idea is fairly short (and affordable!) . Some of these supplies are available at dollar stores (for example, I’ve seen striped paper straws at Dollar Tree before!), all of them are typically available at craft stores, and for the sake of ease and affordability, I bought most of mine on Amazon.
Here’s the list of what you will need:
- Variety pack of colored paper straws (you could get just red stripes – my kids love making colorful projects so we chose a variety pack!)
- 2 inch red felt hearts
- Craft Feathers (we chose colored, but natural ones are fun too!)
- Mini hot glue gun (mine is 15 years old and pretty grimey- but still going strong – from who-knows-where, but this one on Amazon is affordable and has great reviews!)
- Glue gun mini sticks
Instructions for Cupid’s Arrow Valentine’s Day Craft Idea
Now for the fun part!
Protect your work surface & heat up your glue gun and get your other supplies in piles you can access quickly (and your kids can access too!).

My big kids were loving being in charge of gluing this year. We set up something of an assembly line and I recommend this if you are making more than one or two arrows:
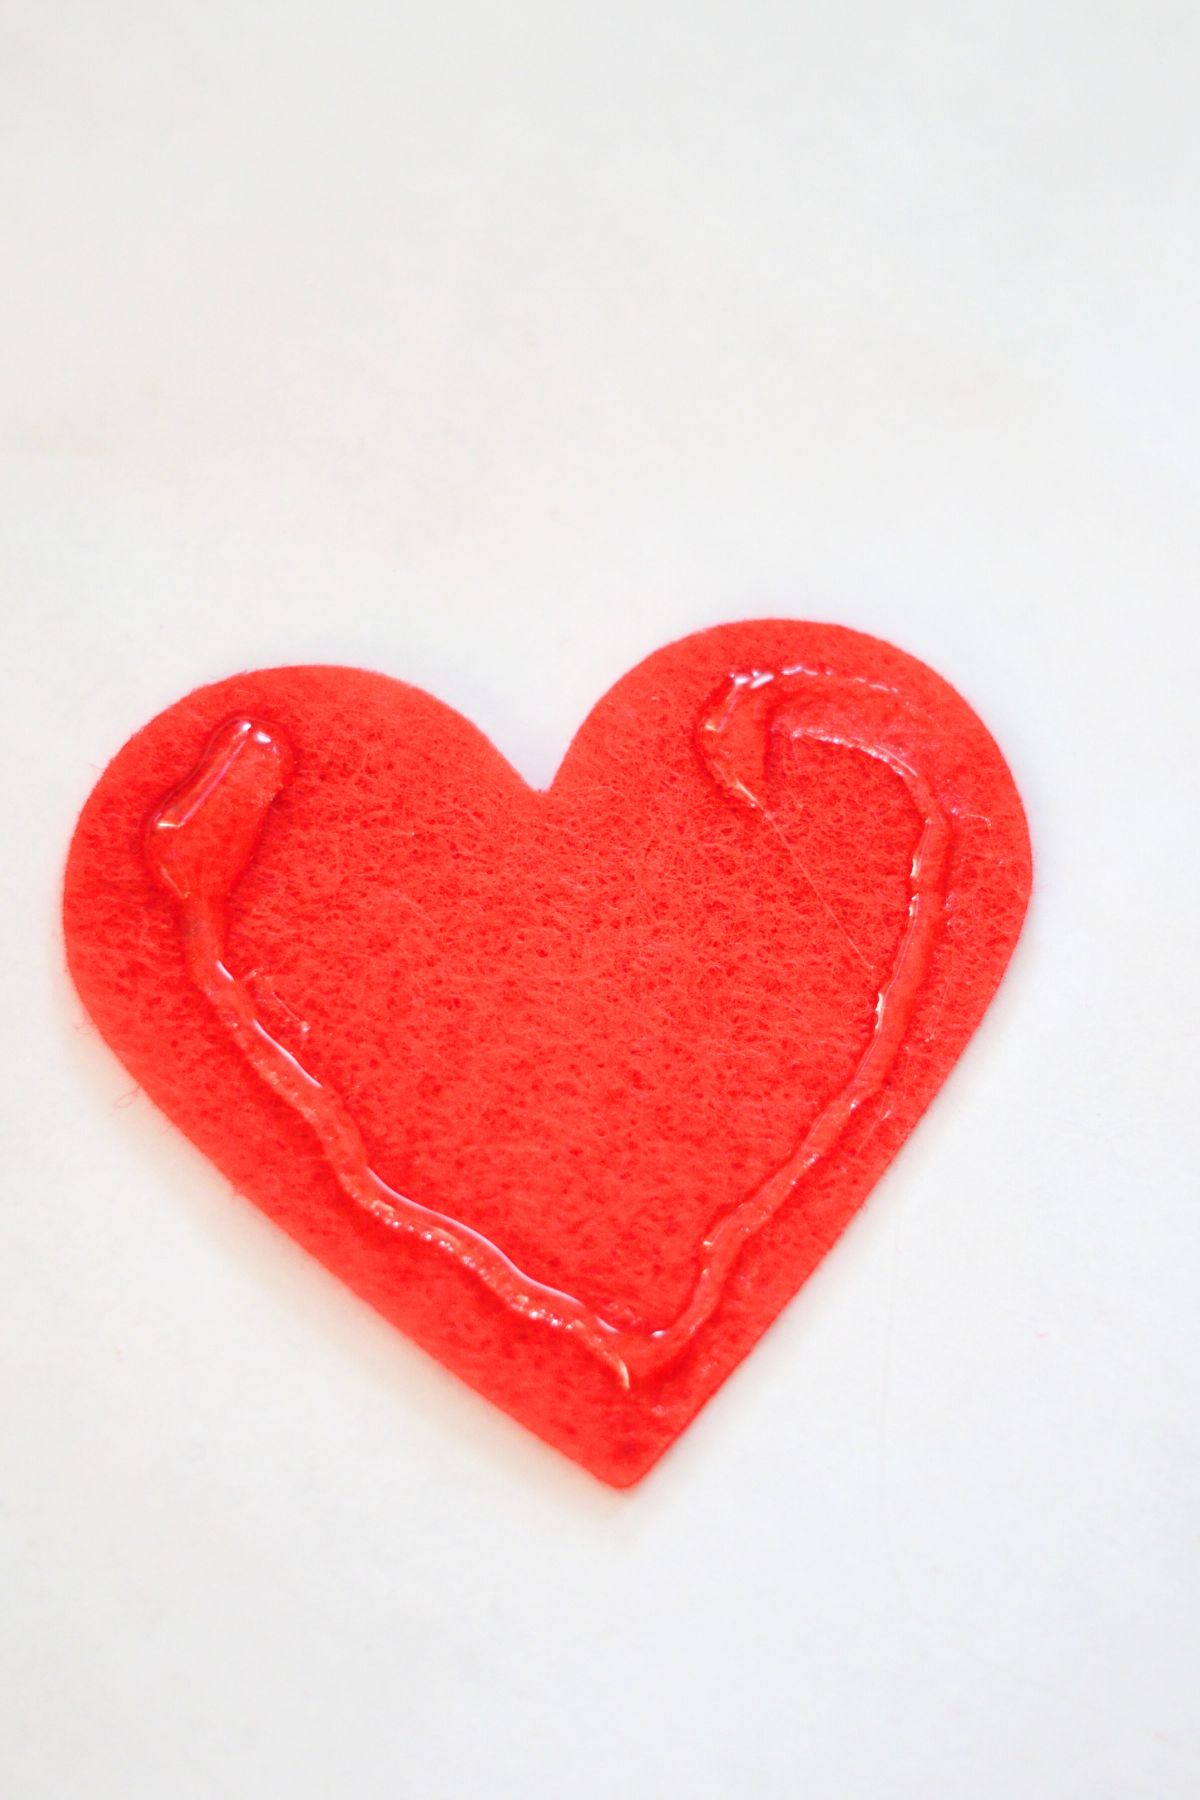
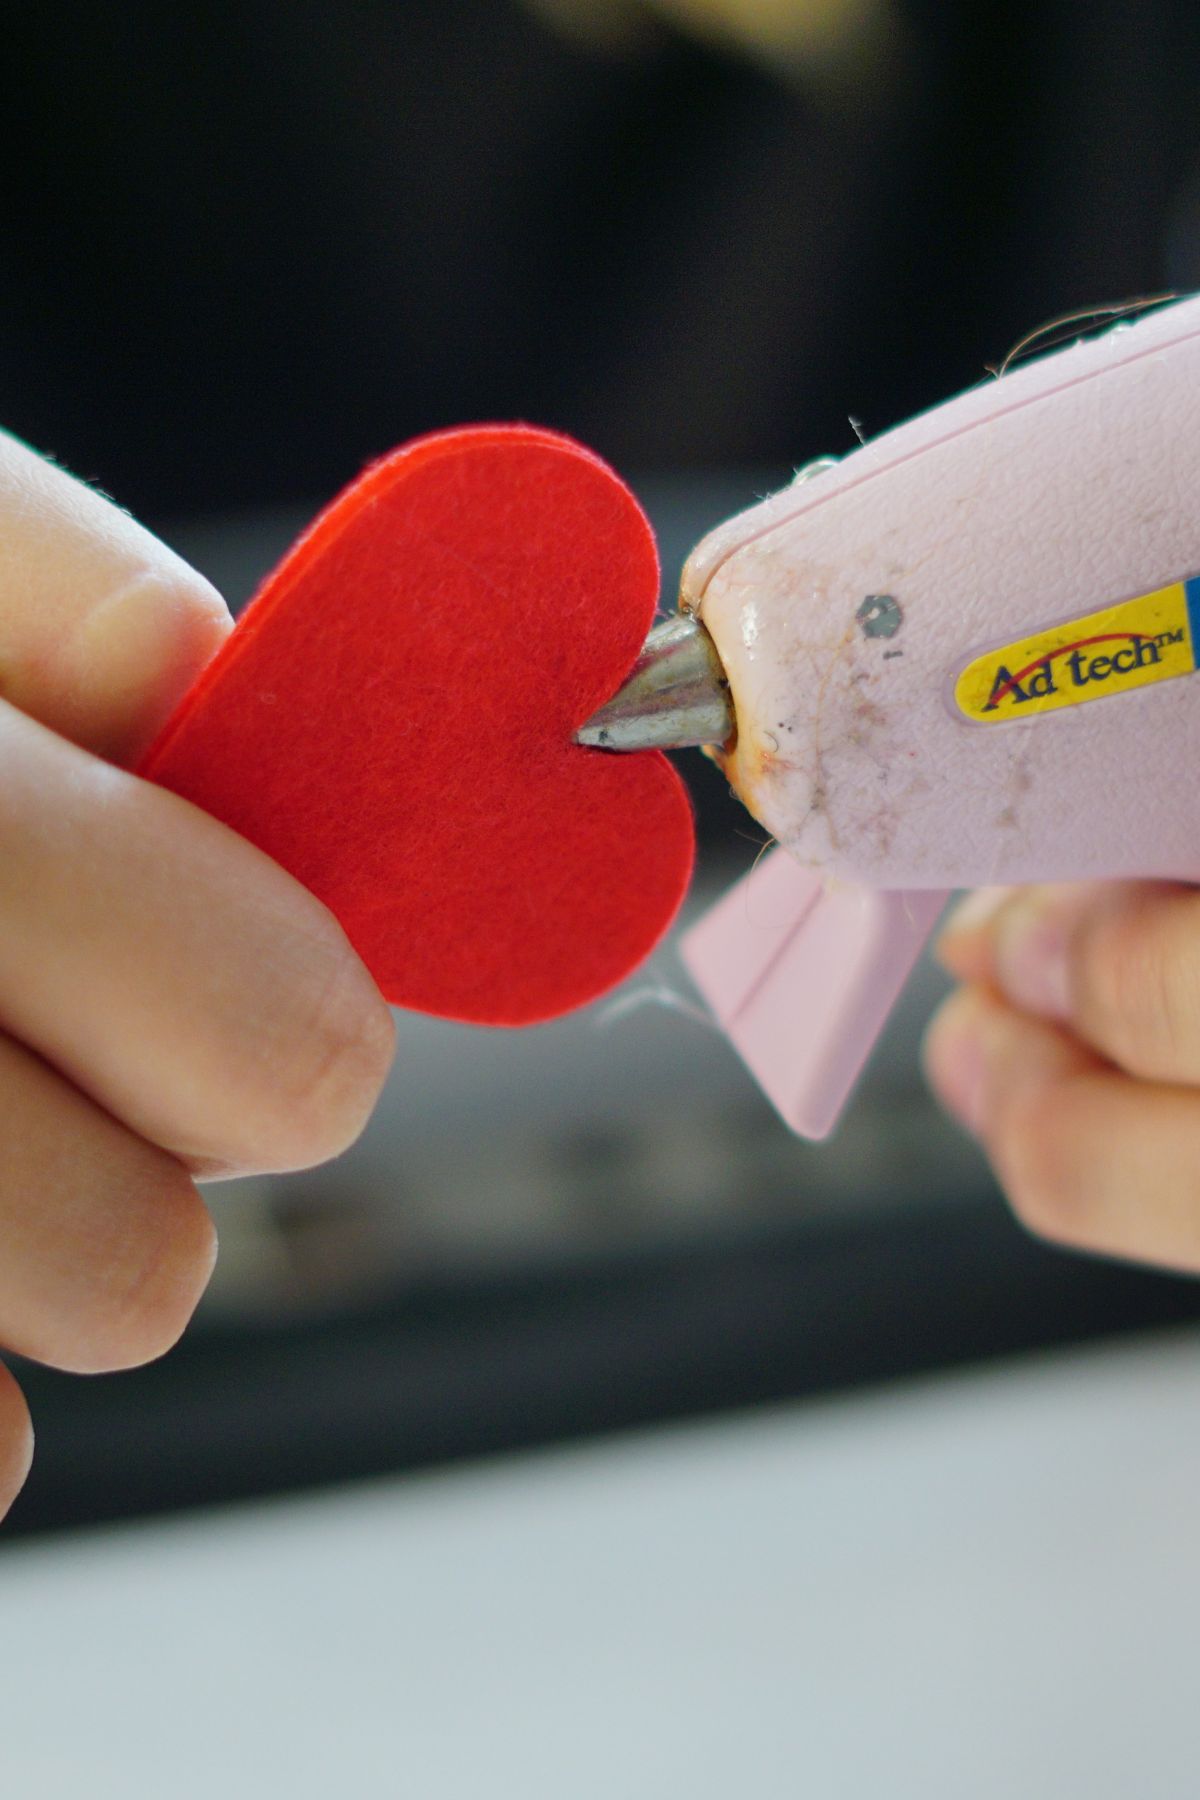
- Make the Cupid’s arrow heart “arrowheads” by hot gluing two hearts together. Do NOT glue the middle of the top of the hearts so that you can push them onto the straw later.

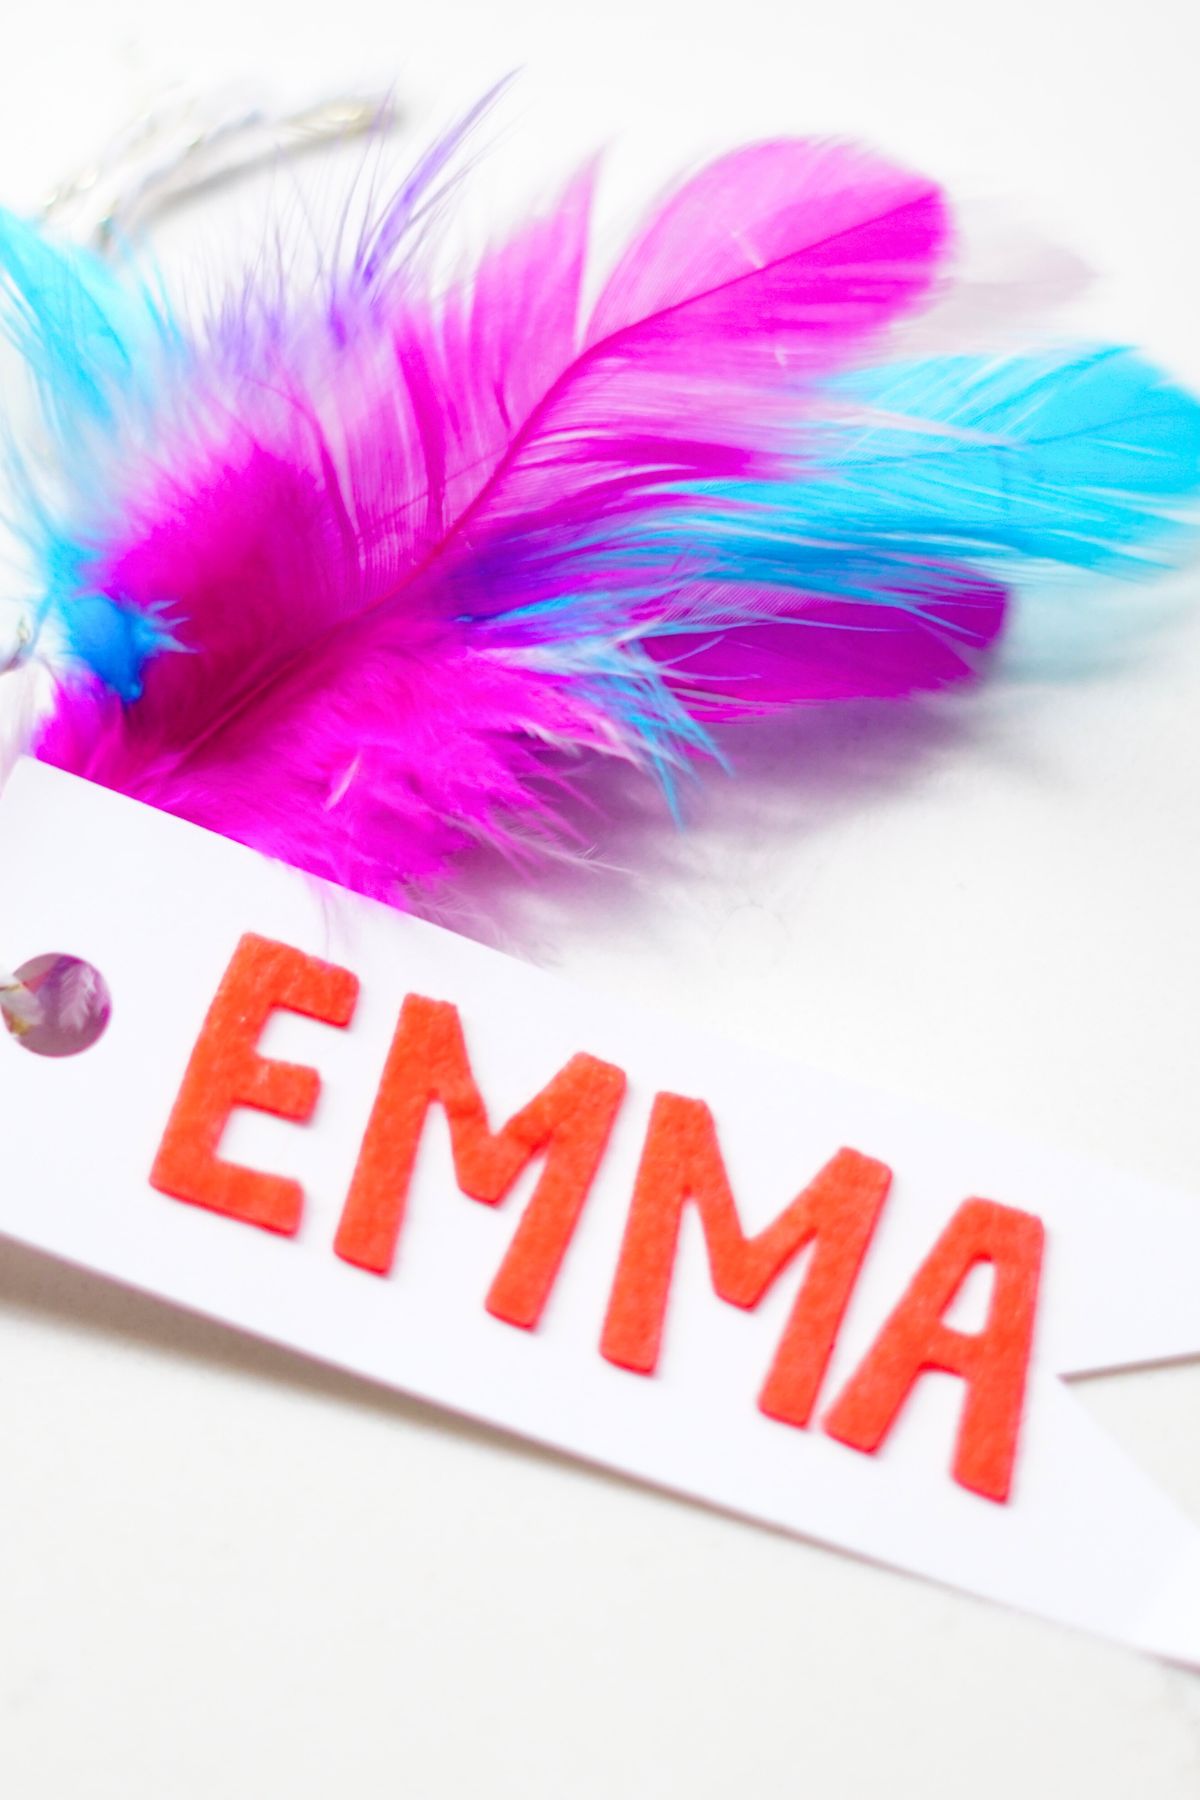
- Make name tags to tie on the end. We simply cut out pieces of cardstock and wrote some tags and used sticker letters for some tags. We used a hole punch to make a hole for the string to pass through. Feel free to make something more elaborate if creativity strikes!
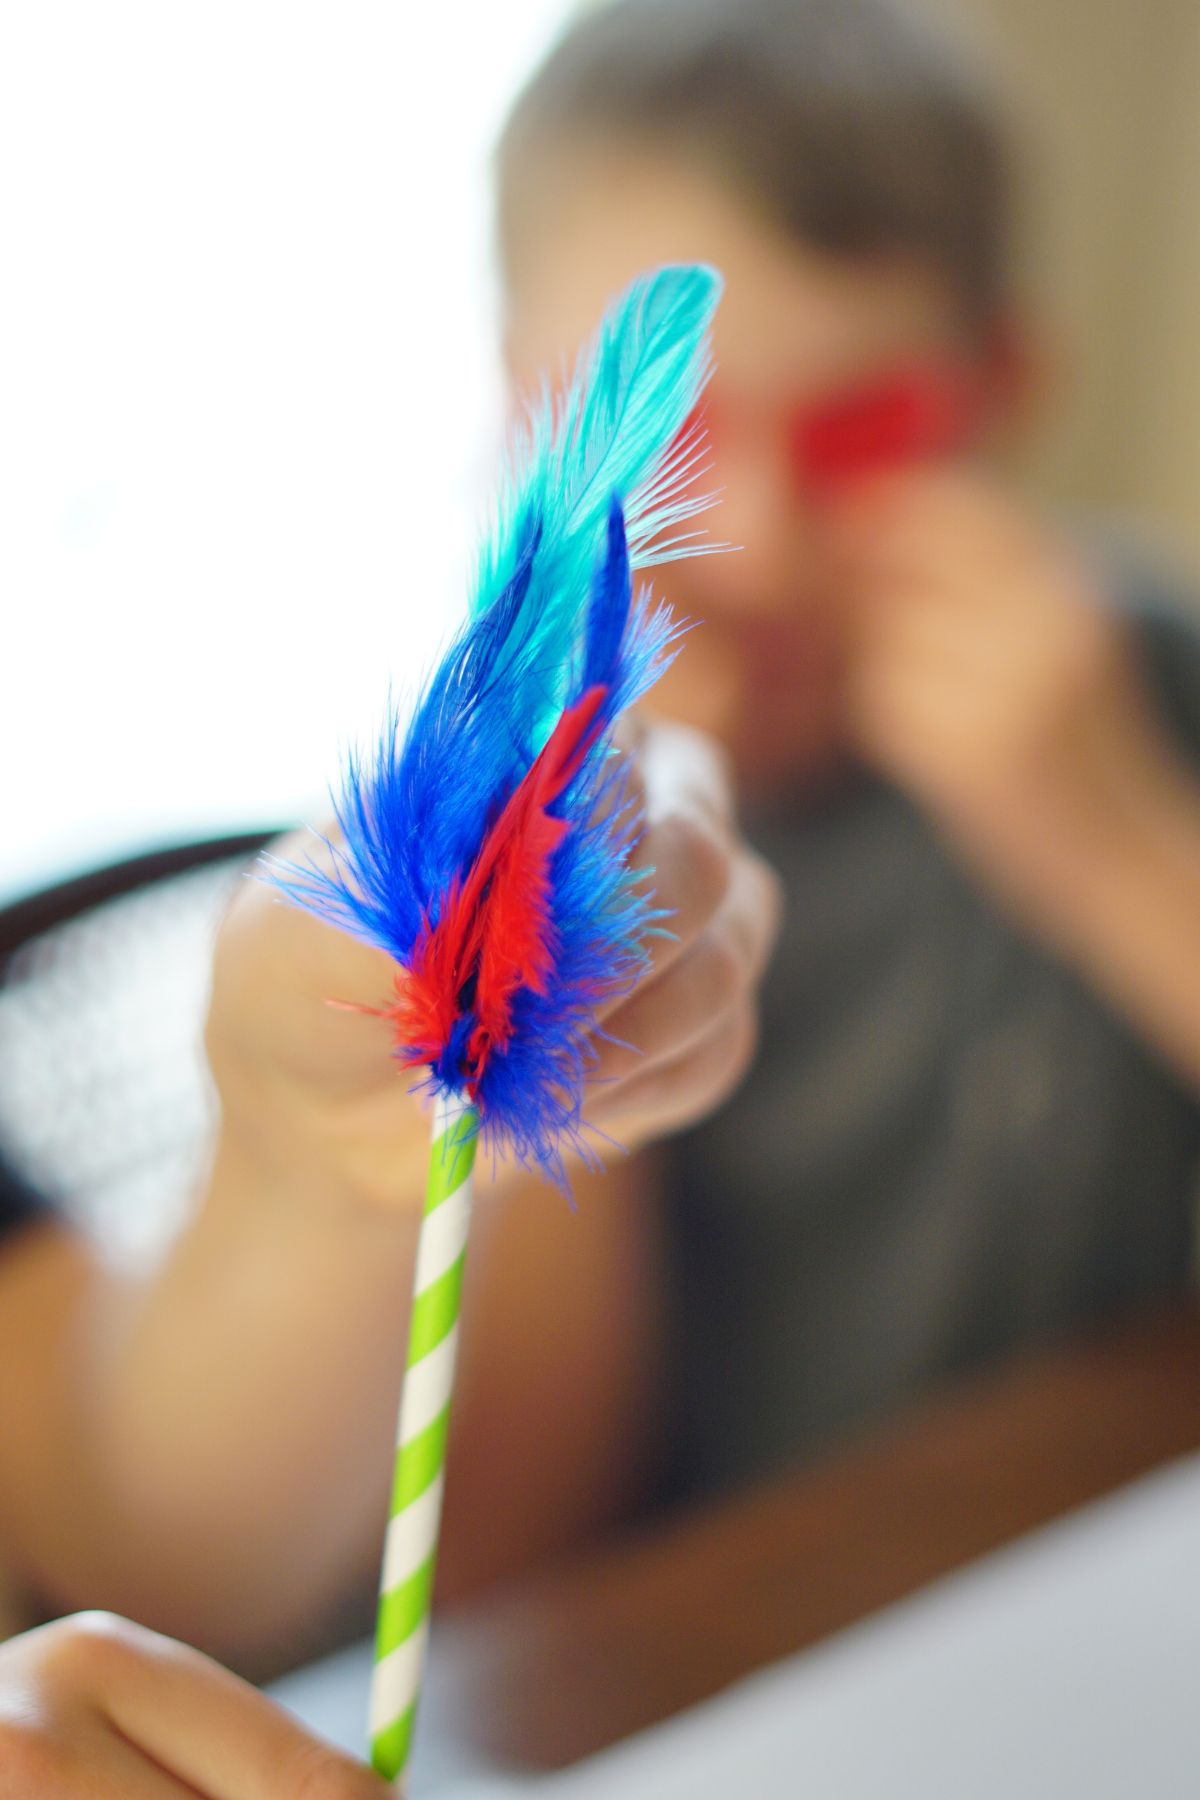
- Put hot glue in one end of the straw and then push feathers into the glue.
- Once the hearts are completely cool, use your fingers to pry open the top of the felt hearts and squirt a decent blob of hot glue in. Immediately push the straw into the warm glue in the heart.
- Use a small piece of string or twine to attach the name tags to the arrows. I prefer tying the string very tight just above the end of the straw where the feathers are glued it. My kids prefer tying it directly to the straw. They both seem to hold up fairly well.

Ta-Da! You have some beautiful, throwable valentines!
You might also enjoy:
- Cute Valentine’s Day Printables
- Valentine’s Day Worksheets for Preschool or Kindergarten
- Valentine’s Crafts and Printables
Pin This for Later