
How to Make Marbled Paper
This page may contain affiliate links. Learn More.
This marbled paper shaving cream art is SO cool! It’s a simple STEAM activity that your kids will think is super fun! Some science, some art… and a whole lot of smiles!

How to Make Marbled Paper
We opted to do this super cool art-meets-science (aka STEAM) activity on a big scale using an old cardboard box, but we have done it before on a cookie sheet with equal success.
So if you don’t have a big box at the moment, bust out a cookie sheet (or even a 9×13 baking dish!) and make some marbled paper anyways! One reason I really liked using the cardboard box was I was able to keep both the finished paper and also display the leftovers that were stuck to the cardboard as a “big art” display.
But like I said before, don’t let that stop you from doing this fun, easy art project ASAP. You can always do it again next time you have a big box!
Supplies to Make Marbled Paper
Here’s what supplies you’ll need to gather to make marbled paper:
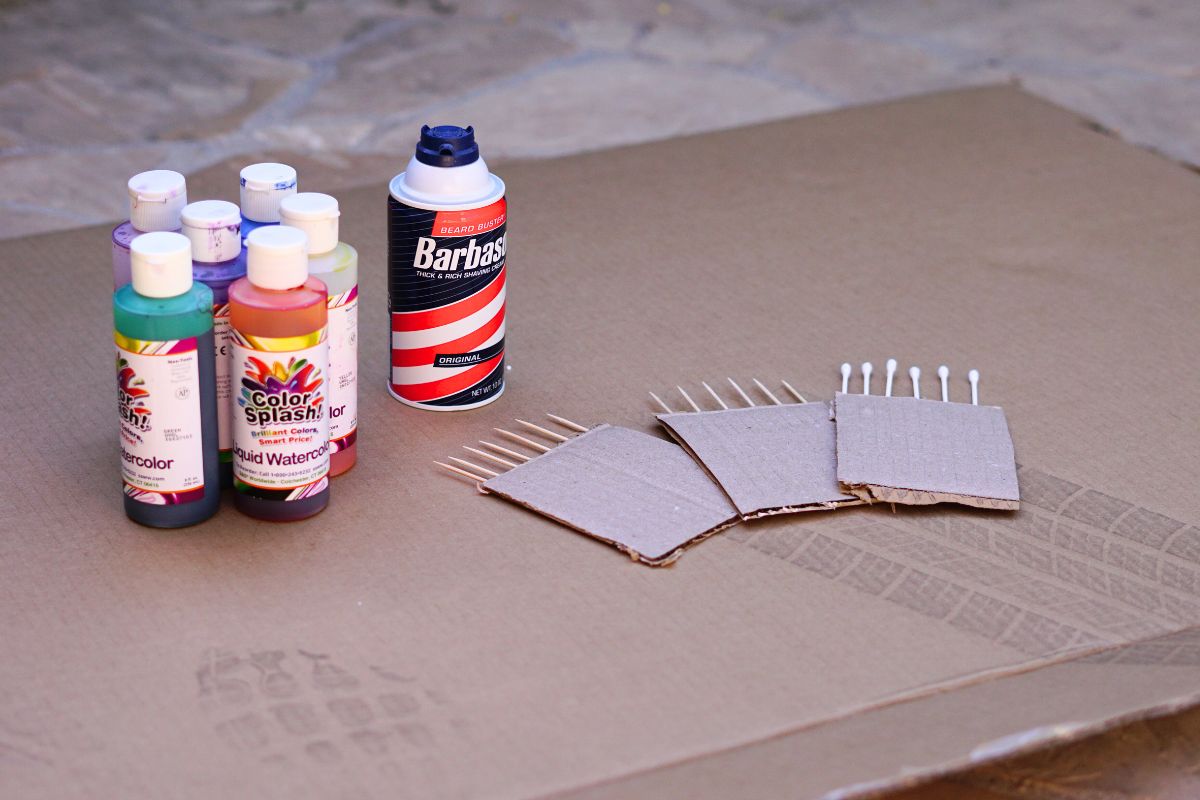
- cheap foam shaving cream (Barbasol, etc)
- liquid watercolors (my favorite) or food coloring
- a comb (or cotton swabs, toothpicks, or hands!)
- printer paper (regular or cardstock if you want the final product to be more sturdy)
- a big piece of cardboard or a cookie sheet or baking dish
- paper towels or old rags
(Do you like the tire marks on my cardboard?! 😉 it was in the garage and clearly run over a time or two!)
Process to Make Marbled Art with Shaving Cream
Step 0: PREP! Protect your surface! Protect your child (well their clothes)! Use some old, stained clothes for painting in or just let your child go shirtless.
If your child has a tendency to taste.. remind them that shaving cream is not food and it tastes BAD!
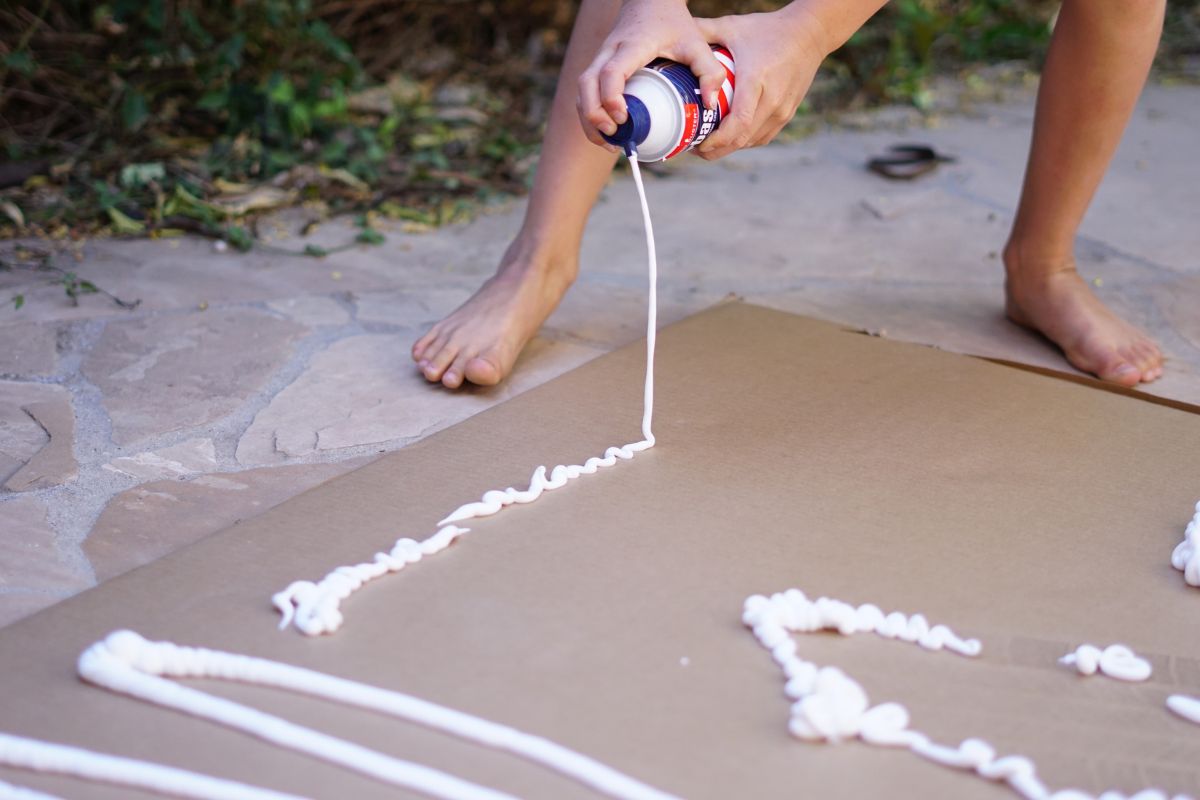
Step 1: Spray shaving cream all over your cardboard, cookie sheet, or baking dish and encourage your child to spread it around all over the surface. It should be a nice, thick, layer.
Step 2: Squirt liquid watercolors or food coloring in drops on top of the shaving cream. Avoid having the different colors too close together at this point.

Step 3: Using a comb (or a homemade “comb” sticking some cotton swabs into a piece of cardboard) or toothpicks, encourage your child to spread the liquid watercolors around until the shaving creams looks beautiful and marbly. Be sure to do plenty of “ooo” and “ahhh”-ing! Once the colors are mixed in a bit, I let my kids mix it with their hands. They do still get a little stained, but hey, this is childhood after all!

Step 4: Since we’re encouraging scientific exploration, go ahead and ask your child what they think will happen if you place a piece of paper on the surface, and then… do it! This is teaching your child the art of hypothesizing and it’s an incredibly important part of scientific inquiry!
Go ahead and place a piece of printer paper or cardstock gently onto the surface of the colored shaving cream.
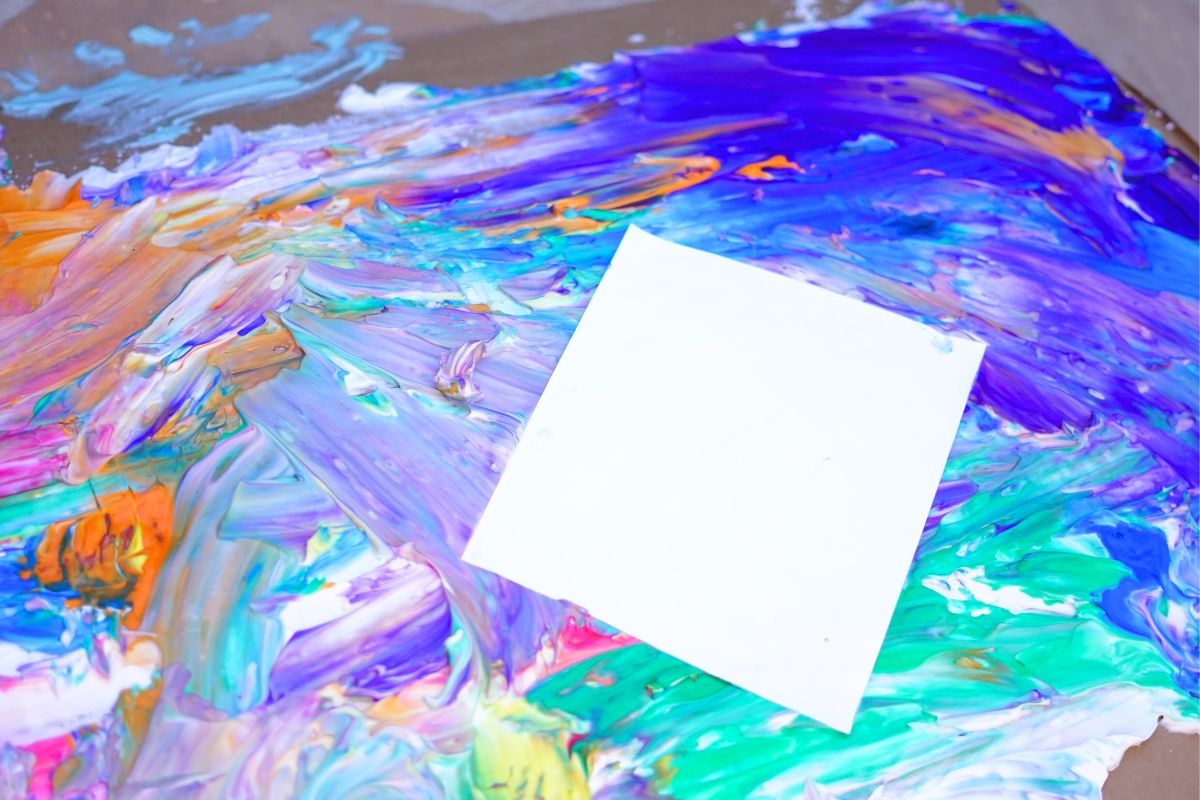
Step 5: Remove the piece of paper, and scrape or wipe off the excess shaving cream. Or have your child do it – I did!

Step 6: Repeat steps 4-5! With as many pieces of marbled paper as you’d like to make!
Step 7: Let the pages finish drying (they won’t be very wet), and if they curl up on the edges, put them under a heavy book overnight once fully dry.

Ways to Use the Finished Marbled Paper
The finished product is so pretty! Some things I really like to use our marbled papers for include:
- as the paper for a card for friends, grandparents, etc.
- as wrapping paper for a small gift
- as artwork to hang up on the walls
Get creative – what will you and your child use their beautiful marbled paper for?! Let me know below!
You might also enjoy:
Pin This For Later


