Easy Donut Pumpkin Painting Idea
This page may contain affiliate links. Learn More.
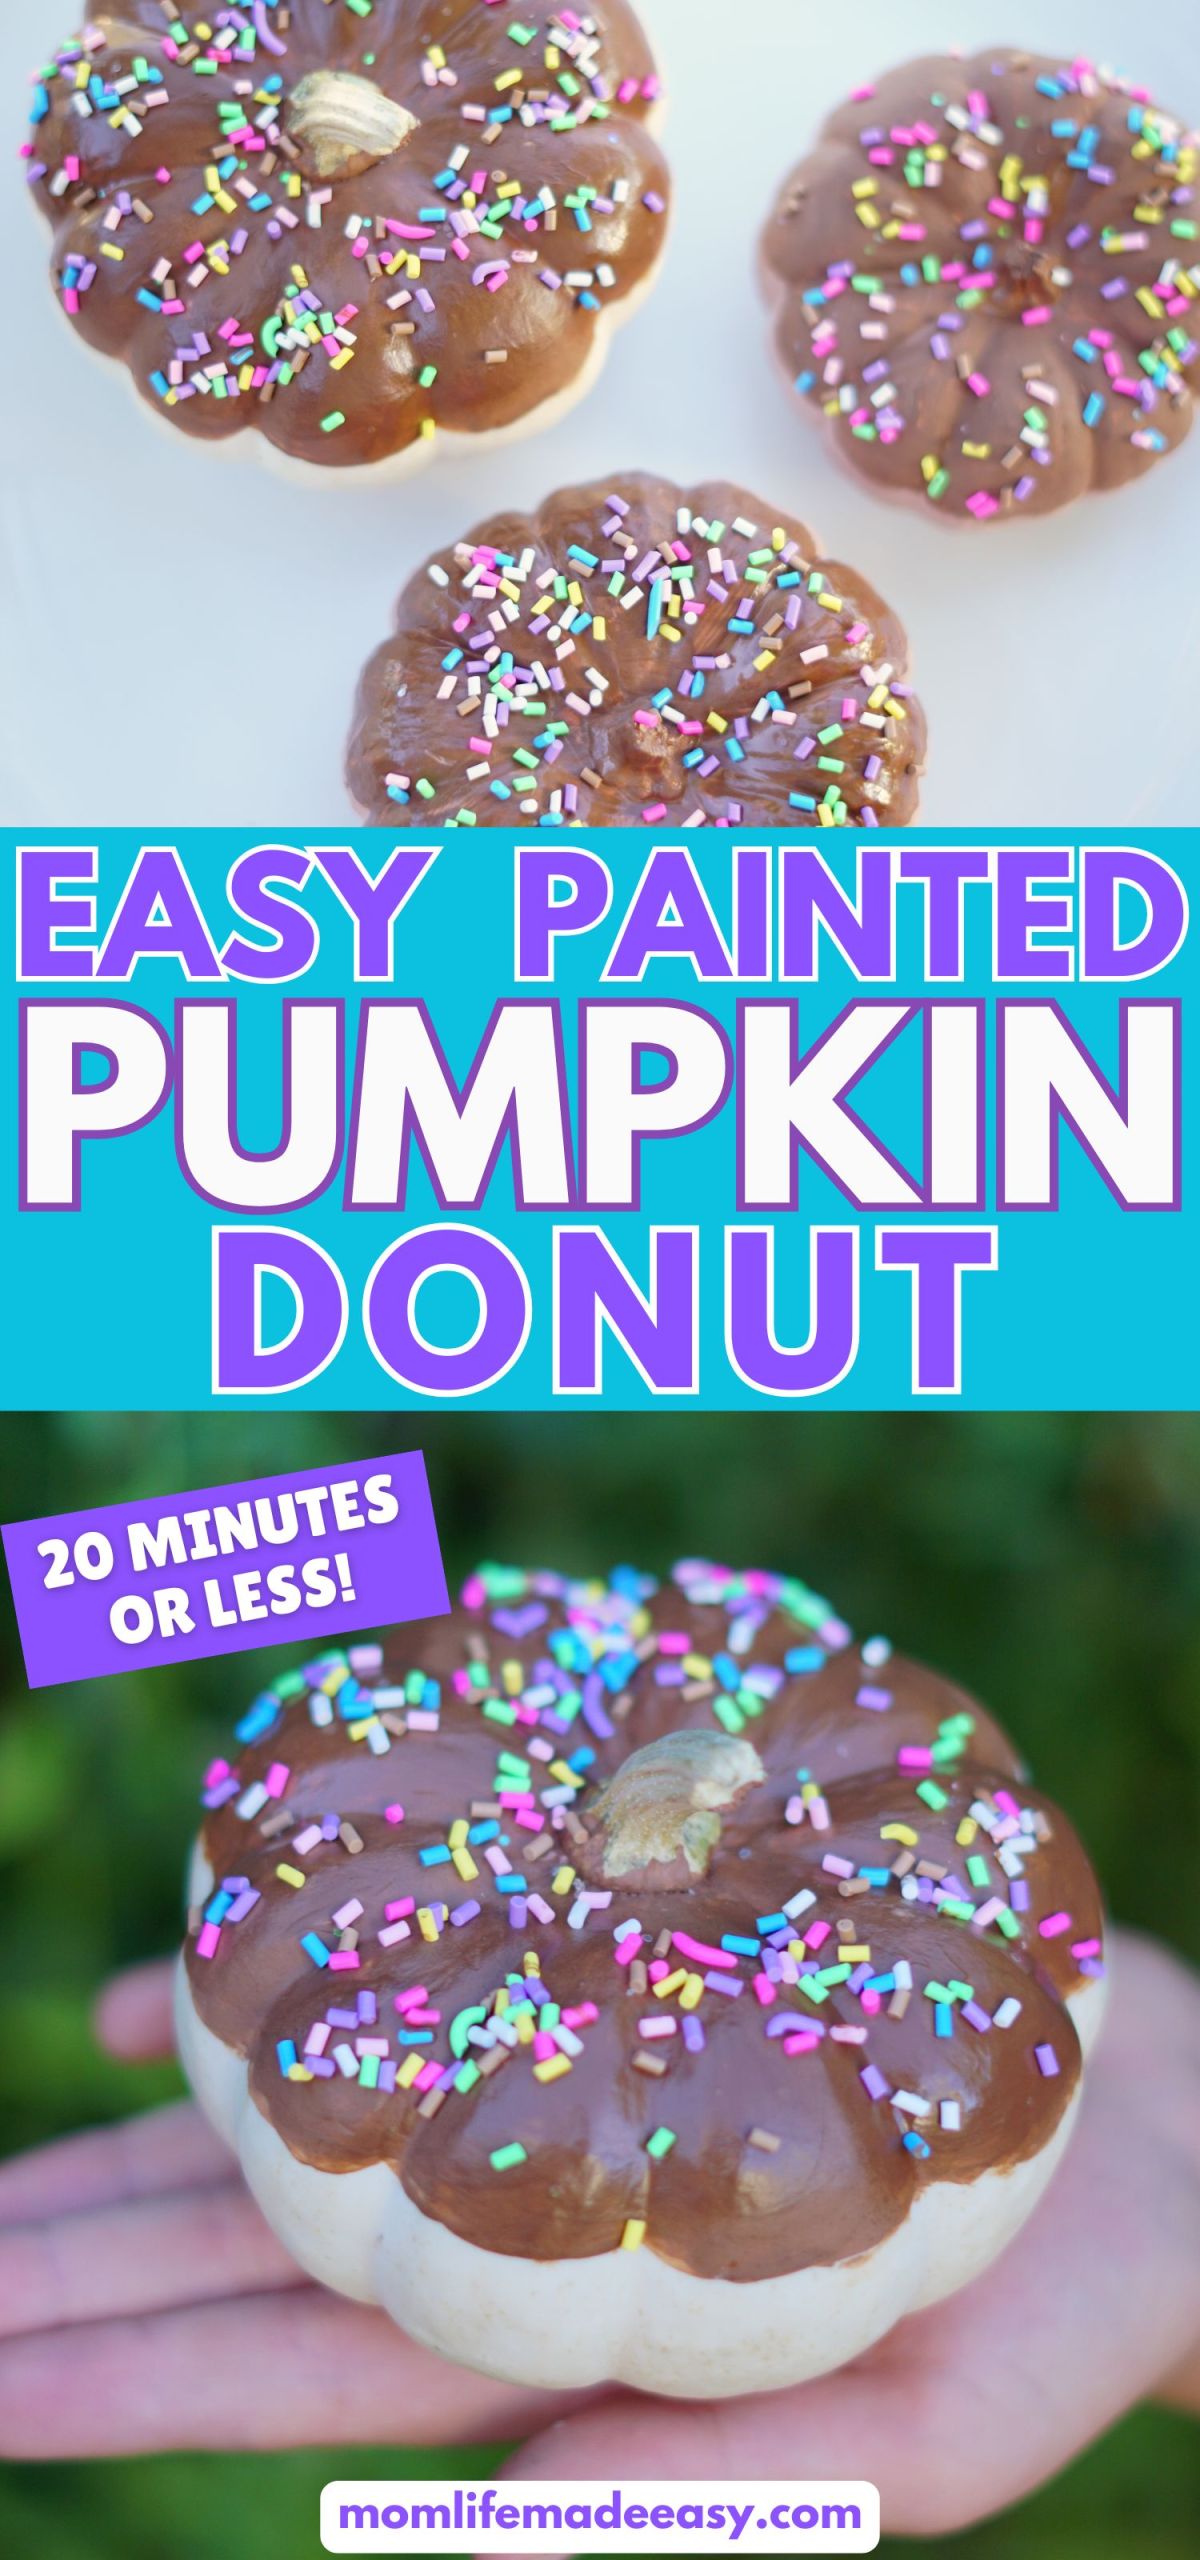
This easy pumpkin painting idea was so fun and insanely easy! Turn some mini pumpkins into mini donuts with just a little paint and some fake sprinkles.
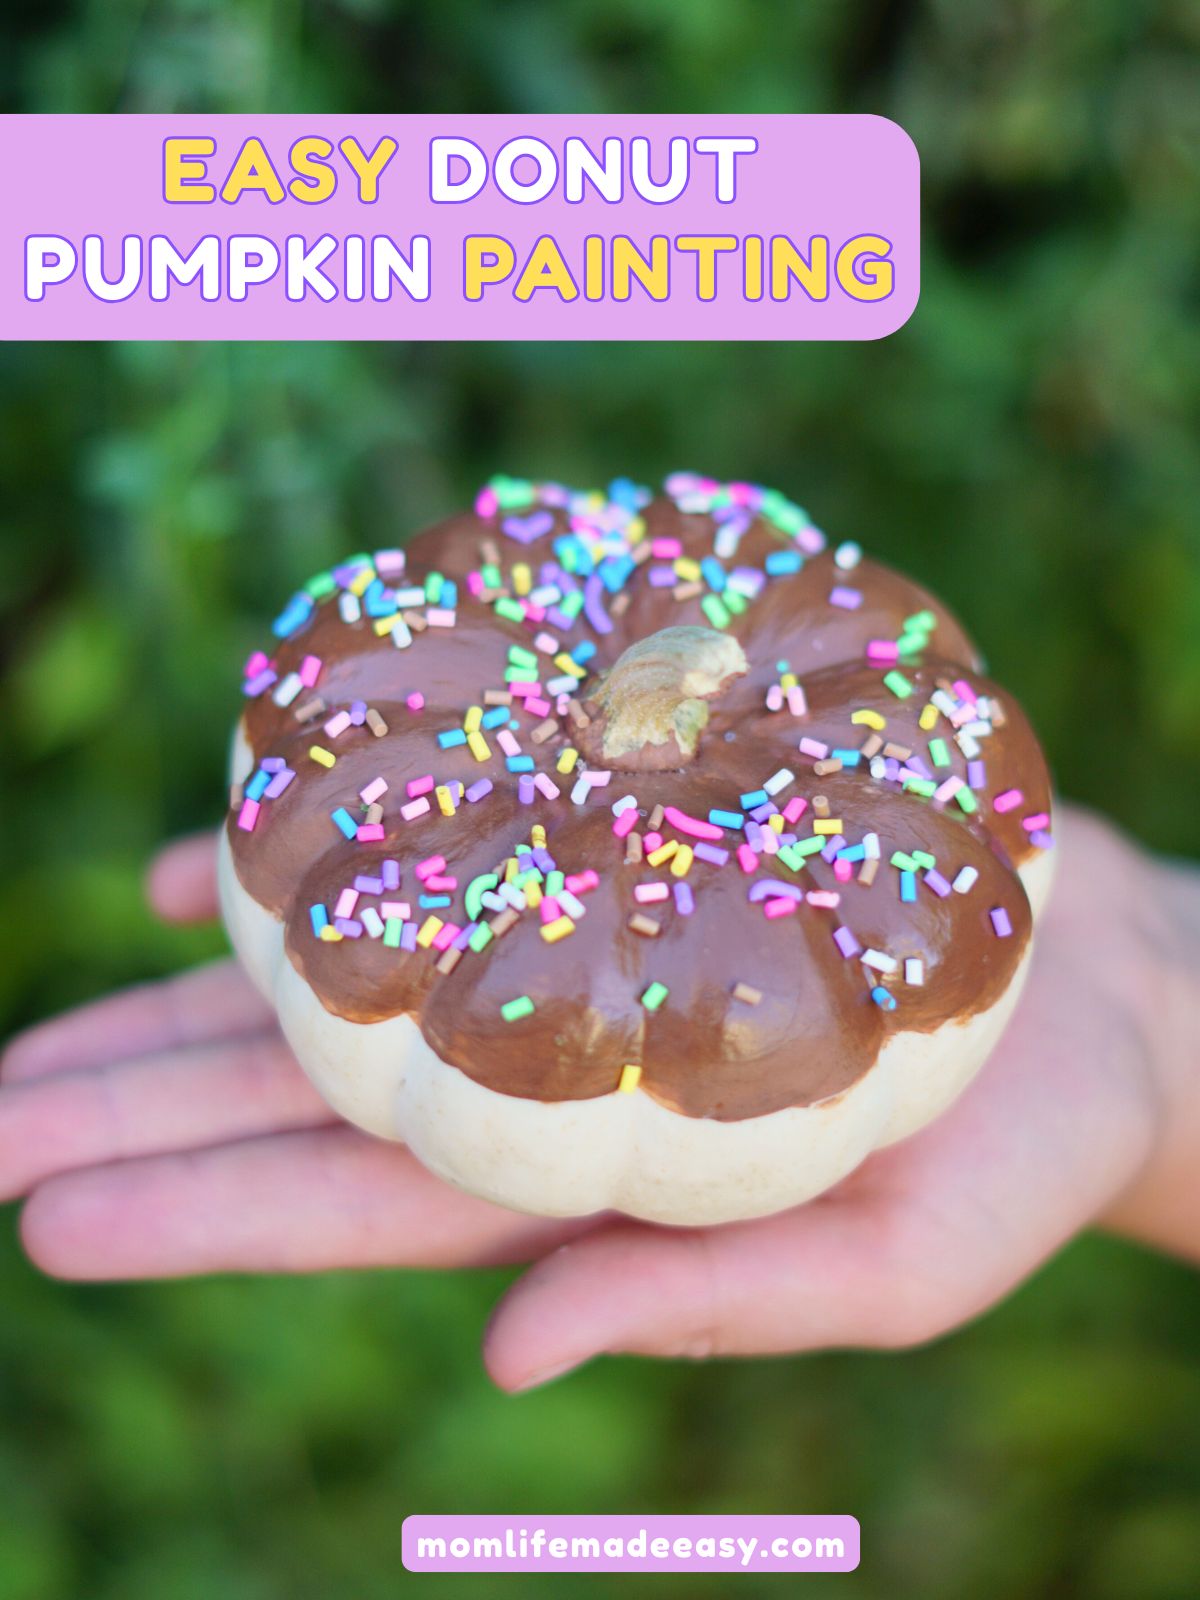
I get so many compliments on these adorable little donut pumpkins and my daughter and I had a blast painting them!
The only downside is that now I find myself constantly craving donuts because these tasty looking little painted pumpkins are on the table full time!
Easy Painted Pumpkin Donuts
I’m a huge fan of process art where the experience is more important than the final outcome of the project, but sometimes I just want to make something adorable. This was a great project that had a very clear desired outcome and I’m glad we did it.
(Speaking of process art, have you tried this fun, big shaving cream art idea for kids?!)
Easy Painted Pumpkin Donuts Supplies
Here are the supplies we used to make these painted pumpkin donuts:
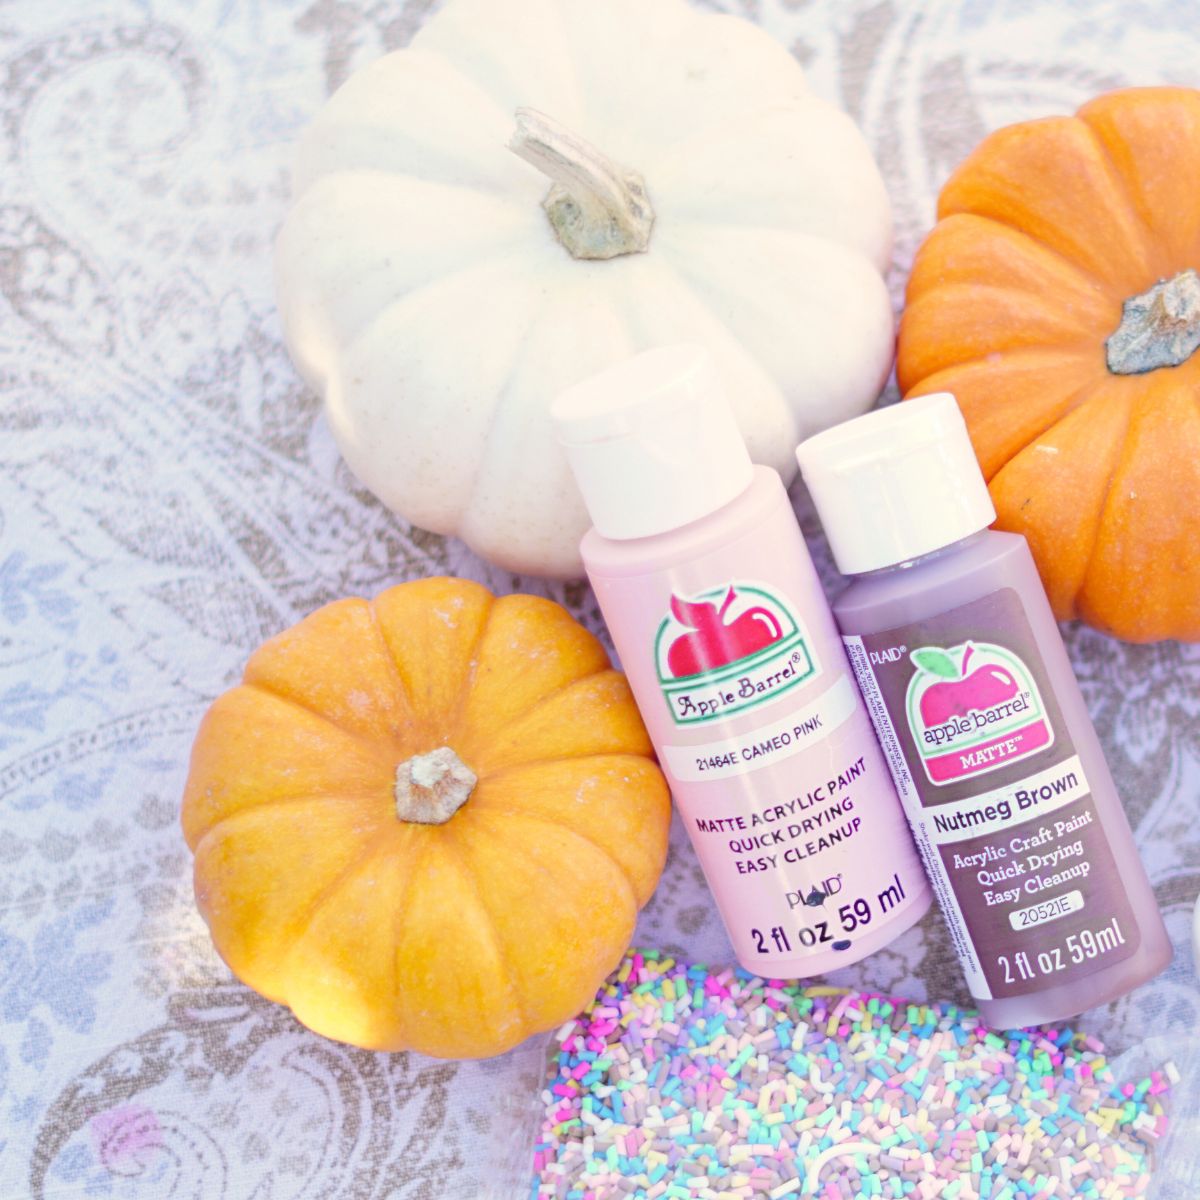
- mini pumpkins (I used real ones, but you could totally try fake ones!)
- acrylic paint (won’t wash out of clothes FYI)
- We used this exact dark brown color for the “icing” and I also mixed it with some of this pink color to paint the main “bread” part of the donut.
- cheap paintbrushes
- spray paint clear coat (optional, not pictured, but I did prefer using it)
My daughter was able to help a lot with the process of these donut pumpkins because the main layer of making them look like “bread” is extremely forgiving – so I turned her loose with the mixed paint, a paintbrush, and two orange mini pumpkins!
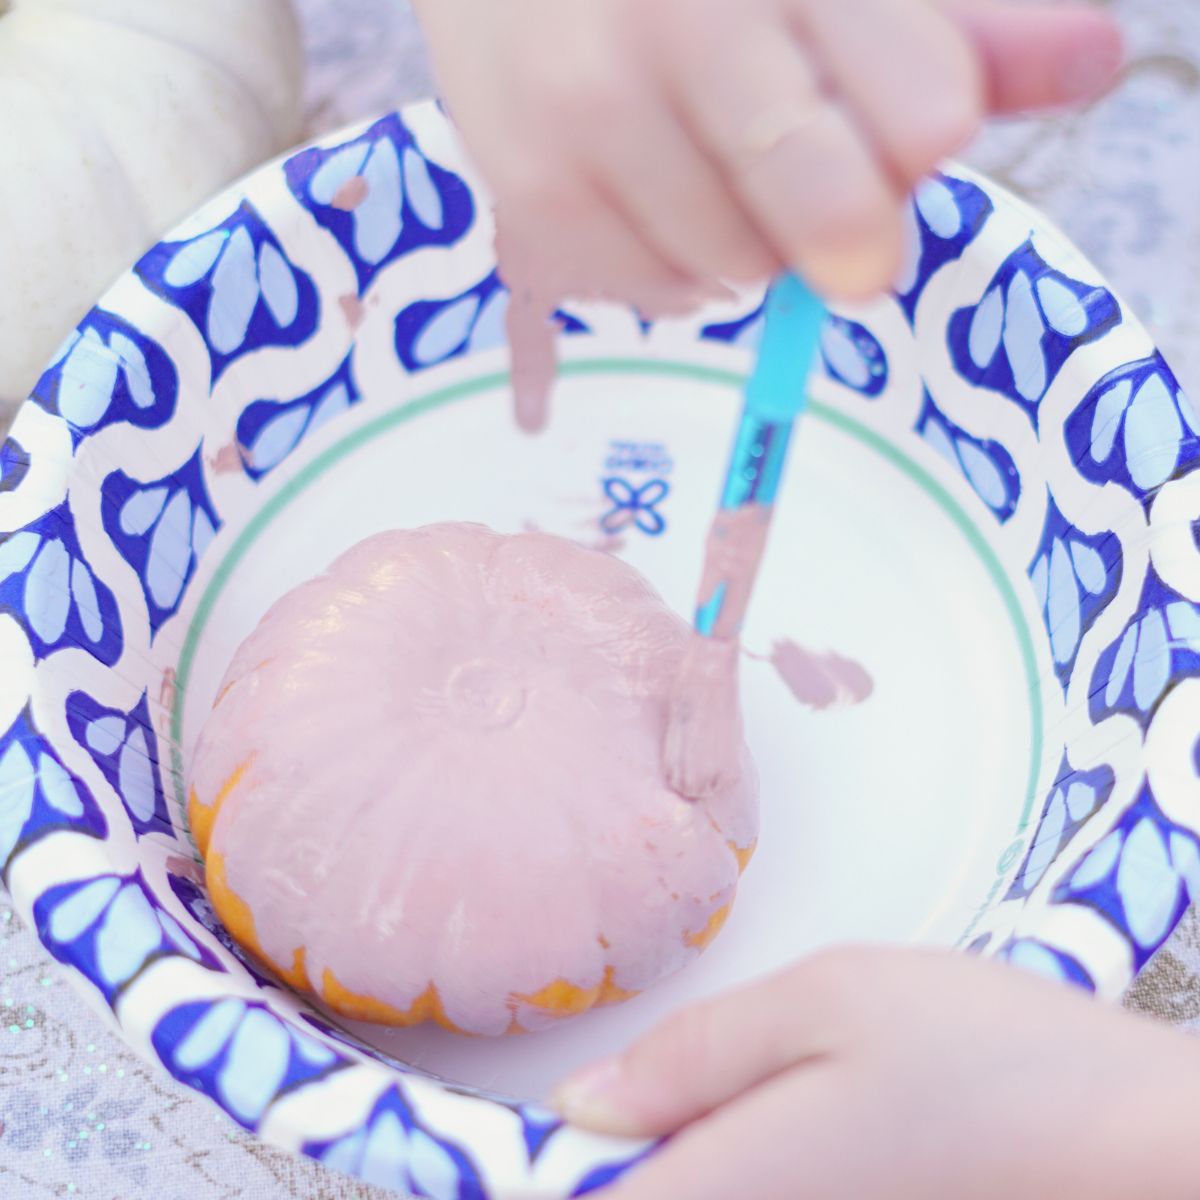
She went crazy and painted them everywhere – even the stems! They weren’t perfect, and it was beautiful.
She asked me when she was done if she could paint the paper bowl that I gave her the paint in – of course that’s an easy thing to say YES to! Doesn’t it feel to good to say yes?!
How to Make Mini Pumpkin Donuts with Paint
I admit that I impatiently only let that first layer dry for maybe 5 minutes. As soon as she finished the first one, I started blowing on it to make it dry faster (does that even work?) and then I began painting the dark brown chocolate “icing” tops.
Real quick – I did not paint the bottom of my white mini pumpkin. It seemed unnecessary because personally, I liked the way it looked! The orange pumpkins that we painted light brown all over do look extra realistic but it could even be cute just to do have the chocolate icing on the orange pumpkins too if you want to paint less!
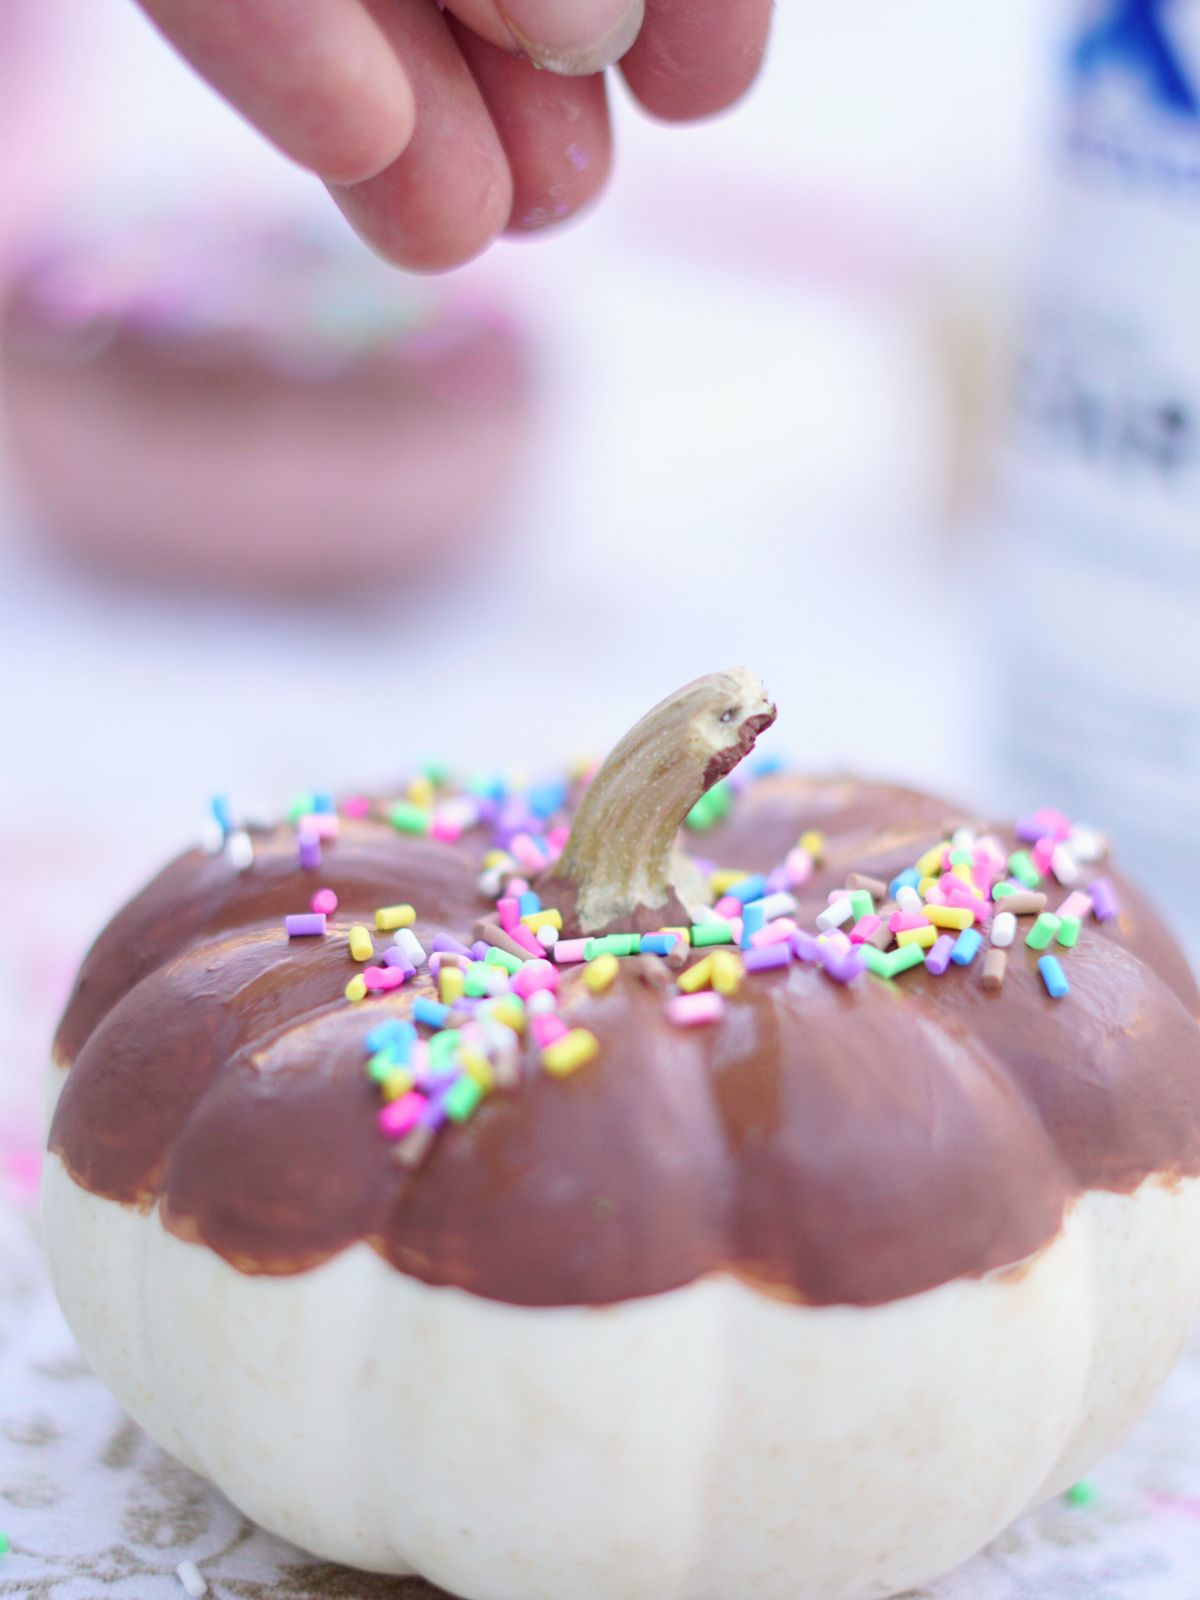
The best step was SPRINKLES! I have no idea why these fun polymer clay sprinkles exist, but I didn’t want to use real sprinkles just in case I keep my painted pumpkins outside at some point (I’d like to avoid attracting too much wildlife to my front porch!). Or just in case the real sprinkles might tempt my dog who otherwise leaves pumpkins alone..
These clay sprinkles were cheap, easy to use, and I still have a bunch leftover for another sprinkle project idea I’m brewing up!
I sprinkled the faux sprinkles right on the wet dark brown paint on top of the pumpkins. They seemed dry enough after just a couple of minutes.
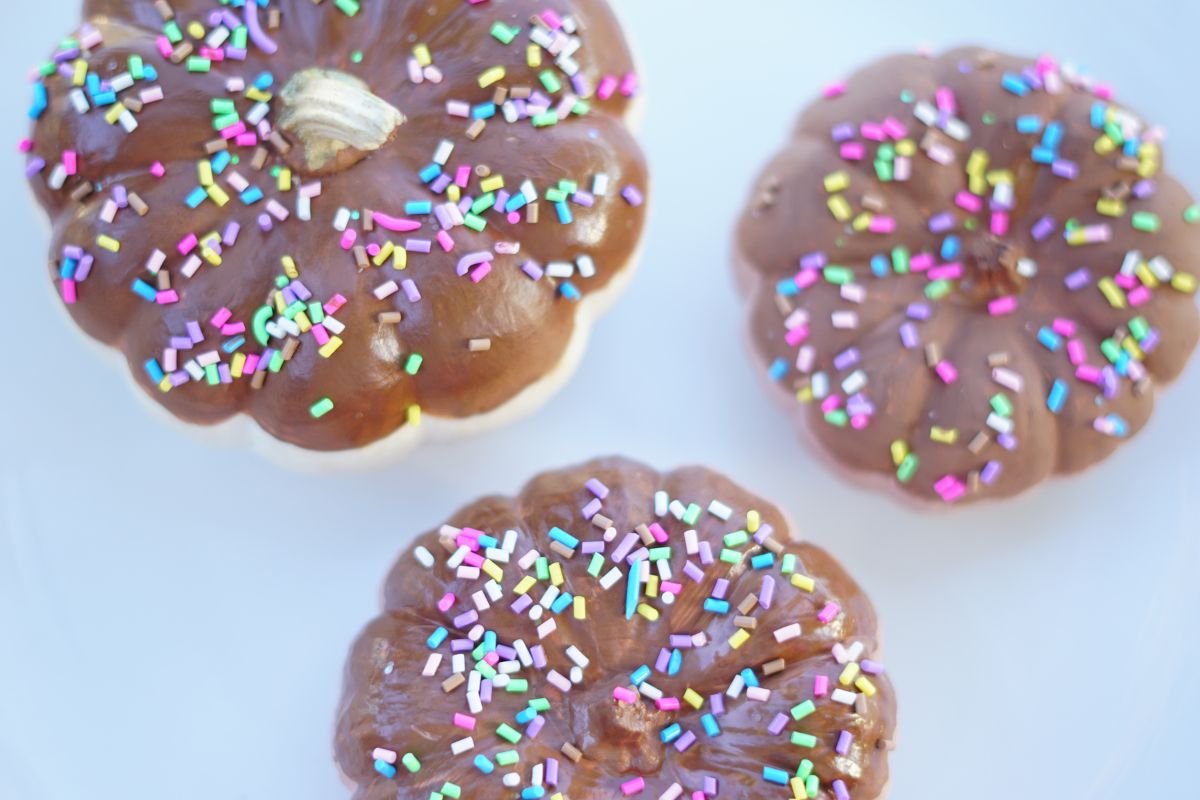
I experimented with using a clear gloss coat. It worked well and while all of the pumpkins are holding up just fine, I think the two that I sprayed a clear coat on are retaining their faux sprinkles just a tad better than the one that I didn’t spray.
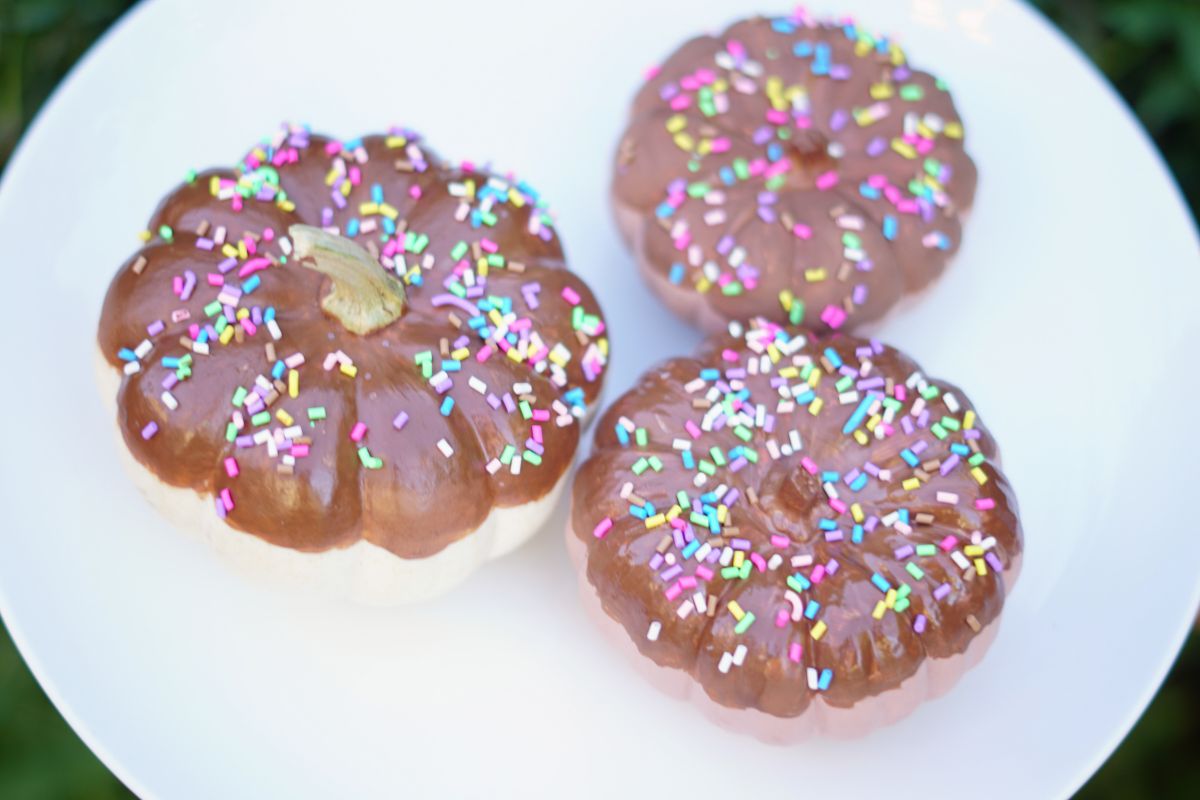
These were so easy to make. It took us all of 15 minutes (maybe I should have let things dry a little longer, but I can’t complain with these results!) and they are so cute! They belong in a little cafe or something!
You Might Also Enjoy:
- Pumpkin Spice Fall Slime Recipe
- Easy Painted Pumpkin Ideas for Kids
- Instant Hit Pumpkin Protein Muffins
Pin This Donut Pumpkin Painting Idea for Later!