How to Make a Coffee Filter Earth Craft
This page may contain affiliate links. Learn More.
Here’s everything you need to learn how to make a coffee filter Earth craft! It makes a great Earth Day craft, a fun geography lesson, or it can be a great addition to a “He’s Got the Whole World in His Hands” lesson.

A Coffee Filter Craft Worth Making
This craft is ridiculously easy so that’s a big plus in my book AND it looks so beautiful hanging up! I love kids crafts in general but we can all appreciate there’s something a little extra special about the ones that look lovely on display.
The BEST thing about this coffee filter craft is that it always turn out cool! Little scribblers to big kids who use precision can make this Earth Day craft and it will turn out just as pretty every time.
Supplies for Making Coffee Filter Earth Craft
The supply list for this project is blissfully short and affordable. Here’s everything you need:
- Coffee filters (1 per Earth)
- Blue and green washable markers (I prefer to buy in bulk, tuck a few sets into gifts, and the rest last us just over a year)
- Spray bottle filled with water (personally I prefer to purchase sprayer tops and reuse cheap dollar store bottles over and over – it always seems the sprayers break before the bottles do!)
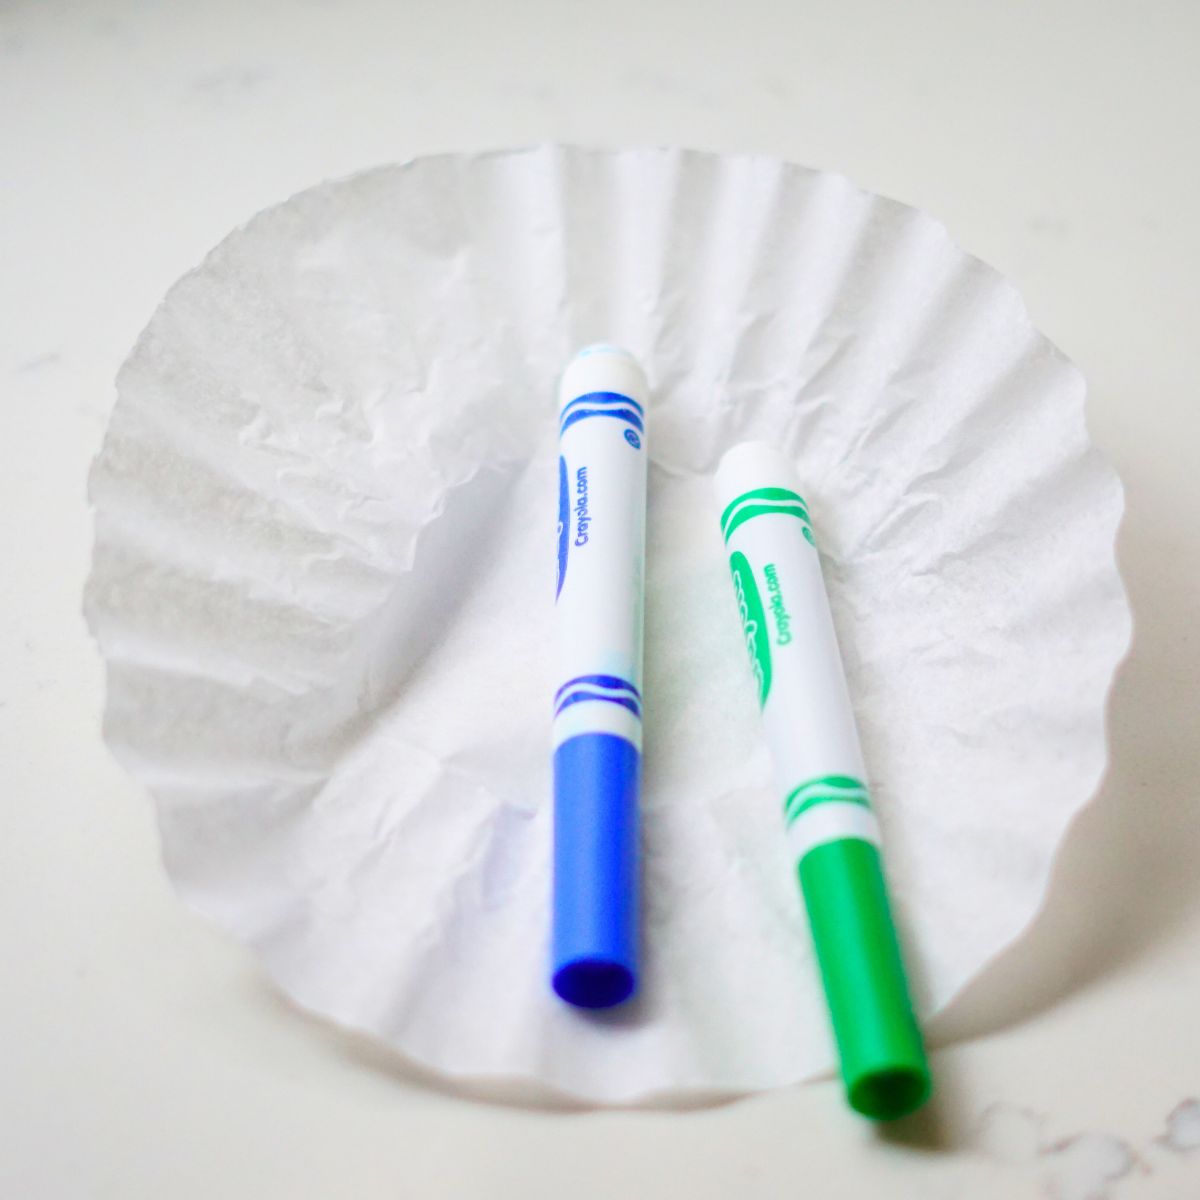
Gather everything up at the table and check out the instructions below:
How to Make a Coffee Filter Earth
Okay, you’ve got all the supplies gathered up so let’s get to it!
- Use the green and blue marker to color all over the coffee filter paper. It really doesn’t matter how this happens, but try to encourage more surface to get colored. This is the part I love best about this craft: kids can scribble wildly or neatly shape out some green continents – either way it’s going to look great!

Try to get color all over the coffee filter like this:

2. Put the colored coffee filter on a surface that can get wet and where the coffee filter can dry afterwards. Some ideas include cutting boards and cookie sheets. Start spraying the colored coffee filter with water – kids love this part!
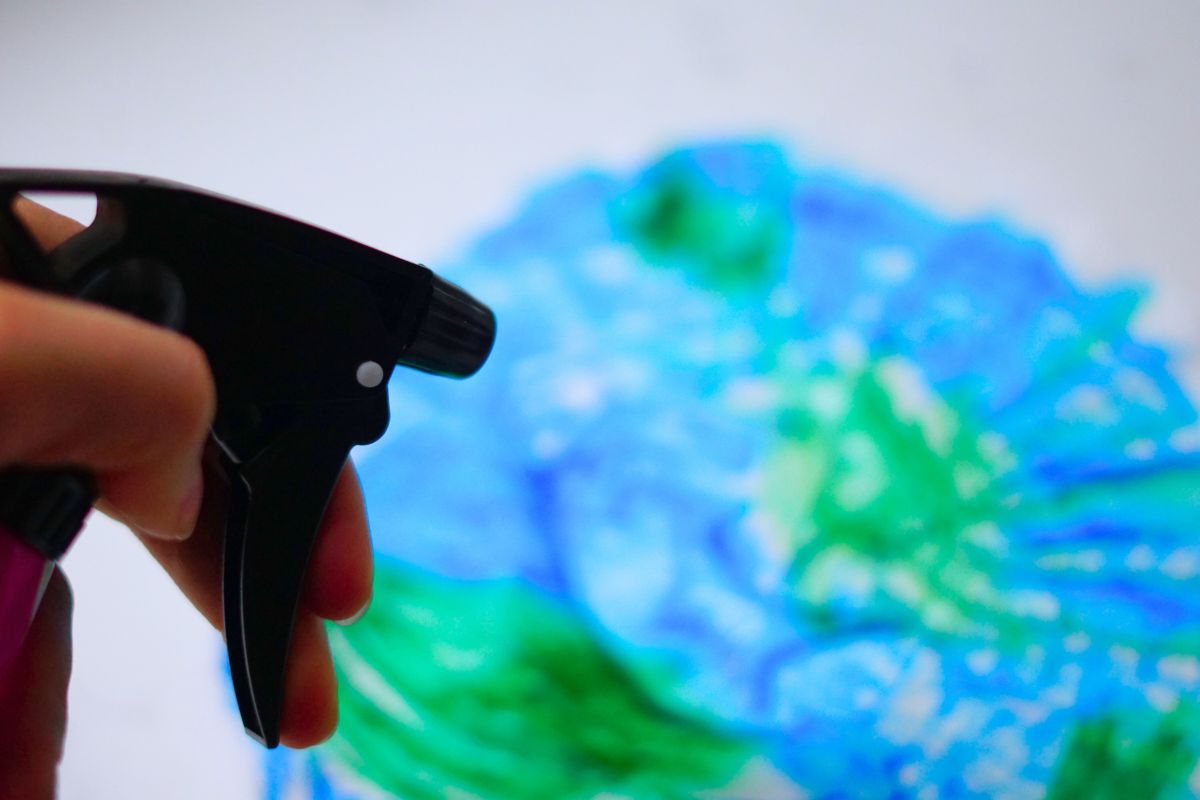
The water needs to be sprayed everywhere in order to get the colors to run together. Kids who go a little crazy with the water will have a less vibrant Earth when complete, but there’s really no harm in that! This is an example of wet enough:

3. There’s two ways you can do this next part. Option one is that you can opt to stick the wet coffee filter directly to a window:

This does result in a slightly less vibrant finished product, but some kids really like sticking the wet filter to the window!
The other option is to let the coffee filter dry in the marker puddle we created spraying the filter. This takes a little more patience because you let it dry fully before hanging but you do get a more vibrant final product:

You can hang them up with a dab of white glue or a rolled up piece of tape! Find a window that gets some good light – the sun shines through and these look so pretty up in the window!
More Crafts You Might Enjoy:
- Oreo Moon Phases Lesson for Kids
- Paper Plate Jellyfish Craft
- How to Make Bingsu Slime (Crunchy Slime)
Pin This Craft for Later