How to Make Bingsu Slime (Crunchy Slime)
This page may contain affiliate links. Learn More.
Make your very own batch of crunchy bingsu slime with this easy recipe!

What is Bingsu Slime?
Let’s be clear that bingsu slime is not edible – even though it is named after a dessert. True bingsu is a popular shaved ice dessert and this wildly popular slime gets its name from its similar appearance to the dessert.

Bingsu slime (sometimes referred to as crunchy slime) has a very fun texture and often makes small crackling sounds when you are playing with it! It’s stretchy and squishy like most slime, but has a lot of little bits mixed in that make it have a satisfying and unique texture.
What exactly are the little bits that make this slime crunchy?
Funny enough, they’re these “bingsu beads” or more commonly known as vase fillers. What?!
One of these small bags had enough for about 4 batches of bingsu slime.
How to Make Bingsu Slime
Gather your ingredients:
- 1/2 cup school glue (we started buying glue by the gallon – white or clear will work, but you can see the bingsu beads better with clear glue!)
- coloring of choice (food coloring is popular, I use and prefer liquid watercolors)
- slime activator (learn how to make slime activator here!)
- bingsu beads
Your first step will be to add 1/2 cup of glue to the bowl you’ll be mixing your slime in.
Next, add a few drops of your coloring. We were making purple slime so we used a few drops each of the blue and red liquid water colors.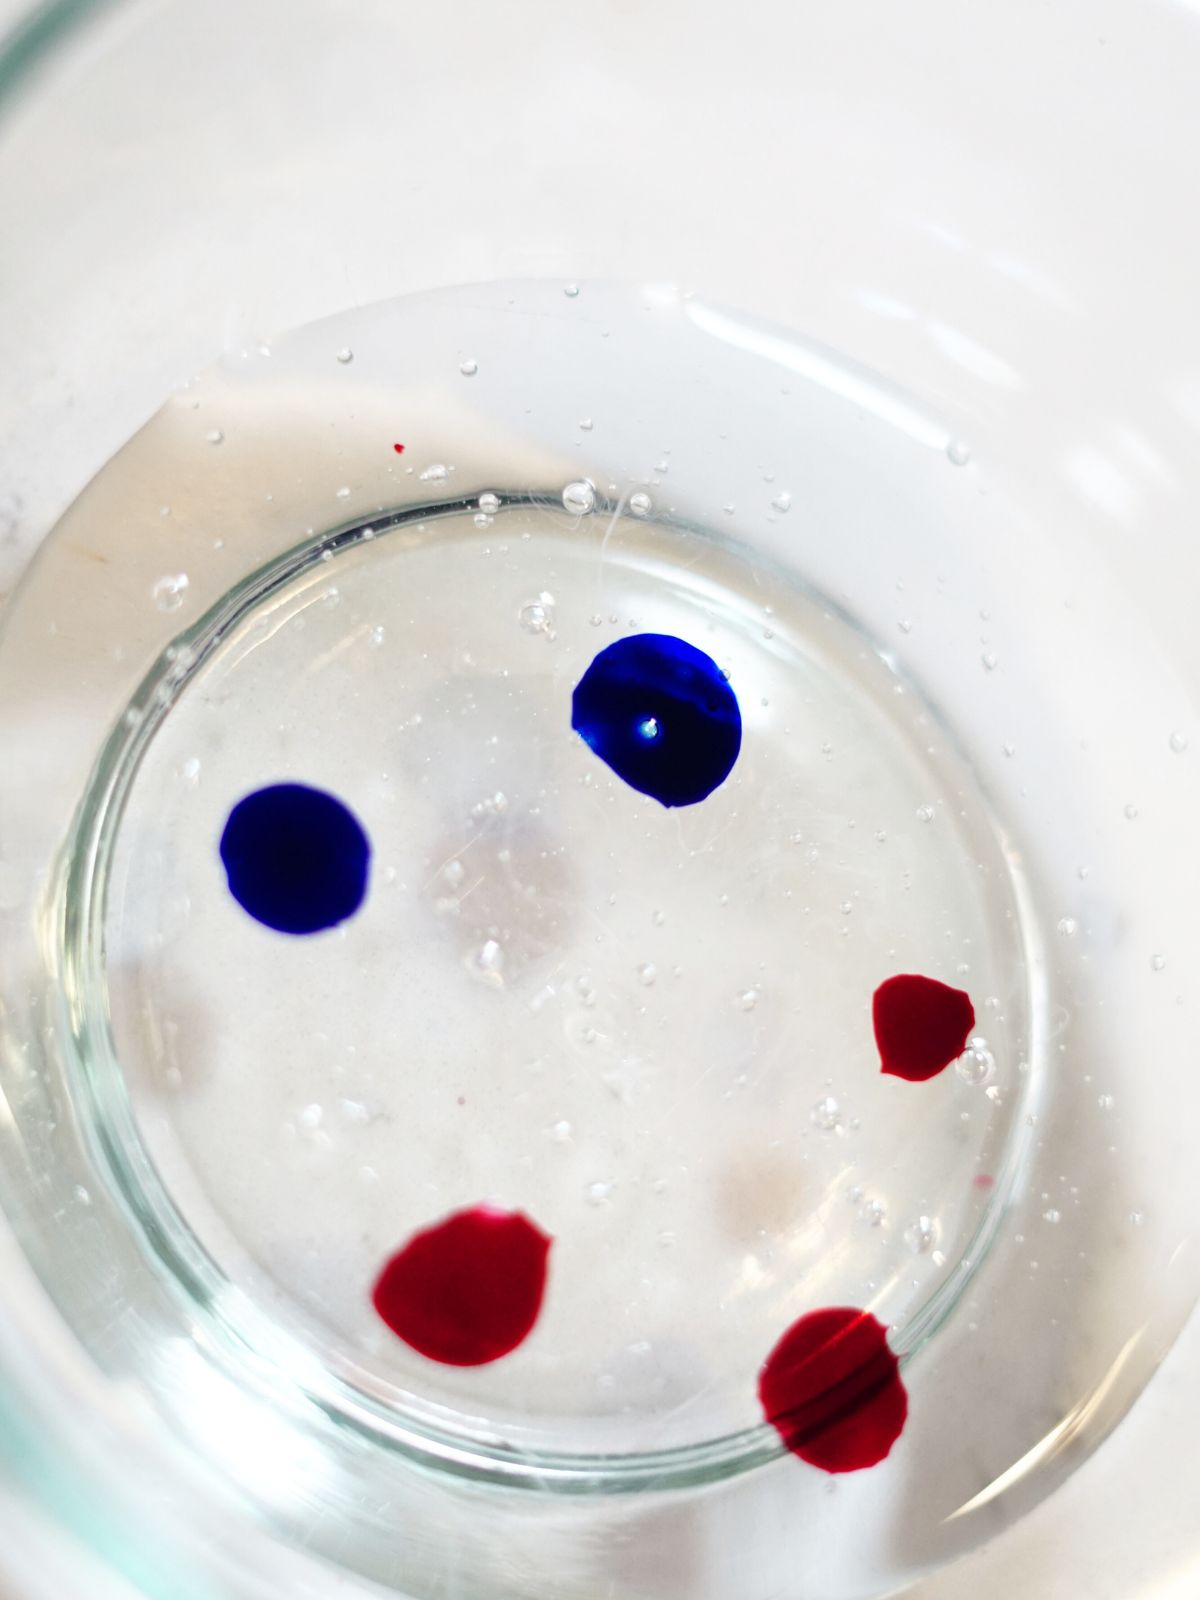 The third step is to add your activator! Check out this post to learn all about making slime activator – I highly recommend the borax activator for bingsu slime! If you are new to making slime, I recommend adding the homemade activator 1 tsp at a time. If you are a seasoned pro, I bet you can just eyeball it!
Once the glue starts to pull off the sides of the bowl, you are ready to start kneading. Slime is a very “trust the process” activity. When you first pick up the slime, it will be very sticky. Squeeze and knead it for a couple of minutes – it should start to firm up and stick less. If the texture doesn’t improve, add a little more activator! After the slime has achieved a stretchy, but not-too-sticky texture, it’s time to add the bingsu beads! Place the slime on the counter and pour the beads on top. Knead and fold them in!
 We added our bingsu beads 1/4 cup at a time, for a total of 1/2 cup. We really wanted it to be crunchy!
Now it’s time to play!

If you’re curious, we also made a batch of bingsu slime with white glue and red liquid water colors (for a bright pink slime!). This is what it looks like when you make the recipe with white glue: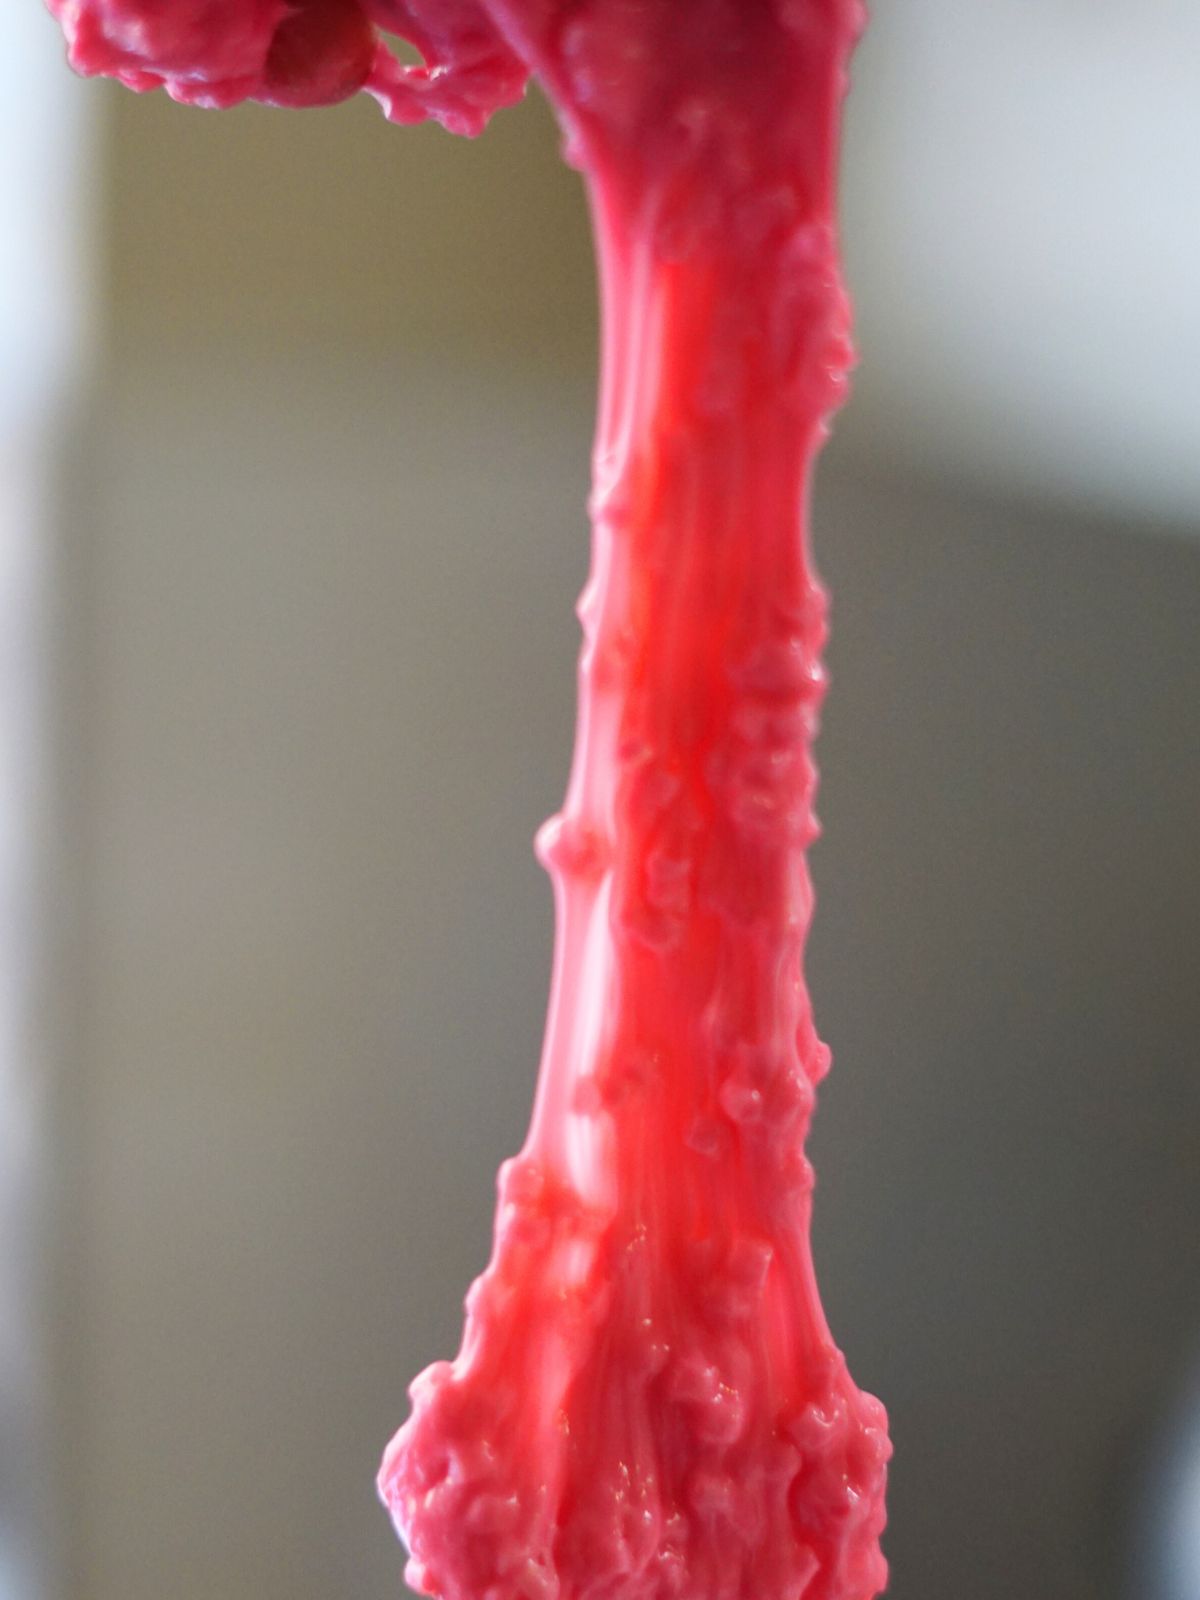
Pro tip: These plastic jars have made storing our slime (and our homemade playdough) super easy and convenient!
Check out how stretchy and crunchy and fun it was to play with crunchy bingsu slime!
View this post on Instagram
You might also enjoy:
Pin This for Later