Paper Plate Jellyfish Craft
This page may contain affiliate links. Learn More.
Make this cute jellyfish craft with a paper plate and basic art supplies! A fun craft for any day, or make this paper plate jellyfish craft as an activity to complement any ocean learning activities, beach trips, or aquarium visits.

Make Your Own Paper Plate Jellyfish Craft
My three kids and I each made our own jellyfish and we had a great time! I like the way each of us had a unique final product that reflected our personal style and interests, but on our rainbow wall they all look like a cute little flock of jellyfish!
Except, NOT a flock. As soon as I wrote that I was like.. wait, what DO you call a group of jellyfish? A little internet research led me to learn this fun fact that I hope you share with the kids in your life! Three common words to describe a group of jellyfish include a bloom (I think this is beautiful imagery!), a swarm (all I can think of is bees!), or a smack (it goes without saying that my kids think this is the best one)!

Anyways, before you gather your supplies, decide how many jellyfish are going to be in your smack! One or two? How about a dozen?! Go crazy.
Supplies for Paper Plate Jellyfish Craft
Great news.. this paper plate jellyfish craft only requires basic, affordable craft supplies! Pro tip, if you’re just starting out with your first child, it makes your life way easier to find a little space in a closet to make an art supply bin and keep a supply of things like this around!

In addition to one paper plate per jellyfish, we used the following supplies in to make our jellyfish craft!
- Do-A-Dot Markers
- Pipe Cleaners (6 per jellyfish)
- Pony Beads
- Googly Eyes (optional – you can just draw them if preferred!)
Process for Making Paper Plate Jellyfish Craft
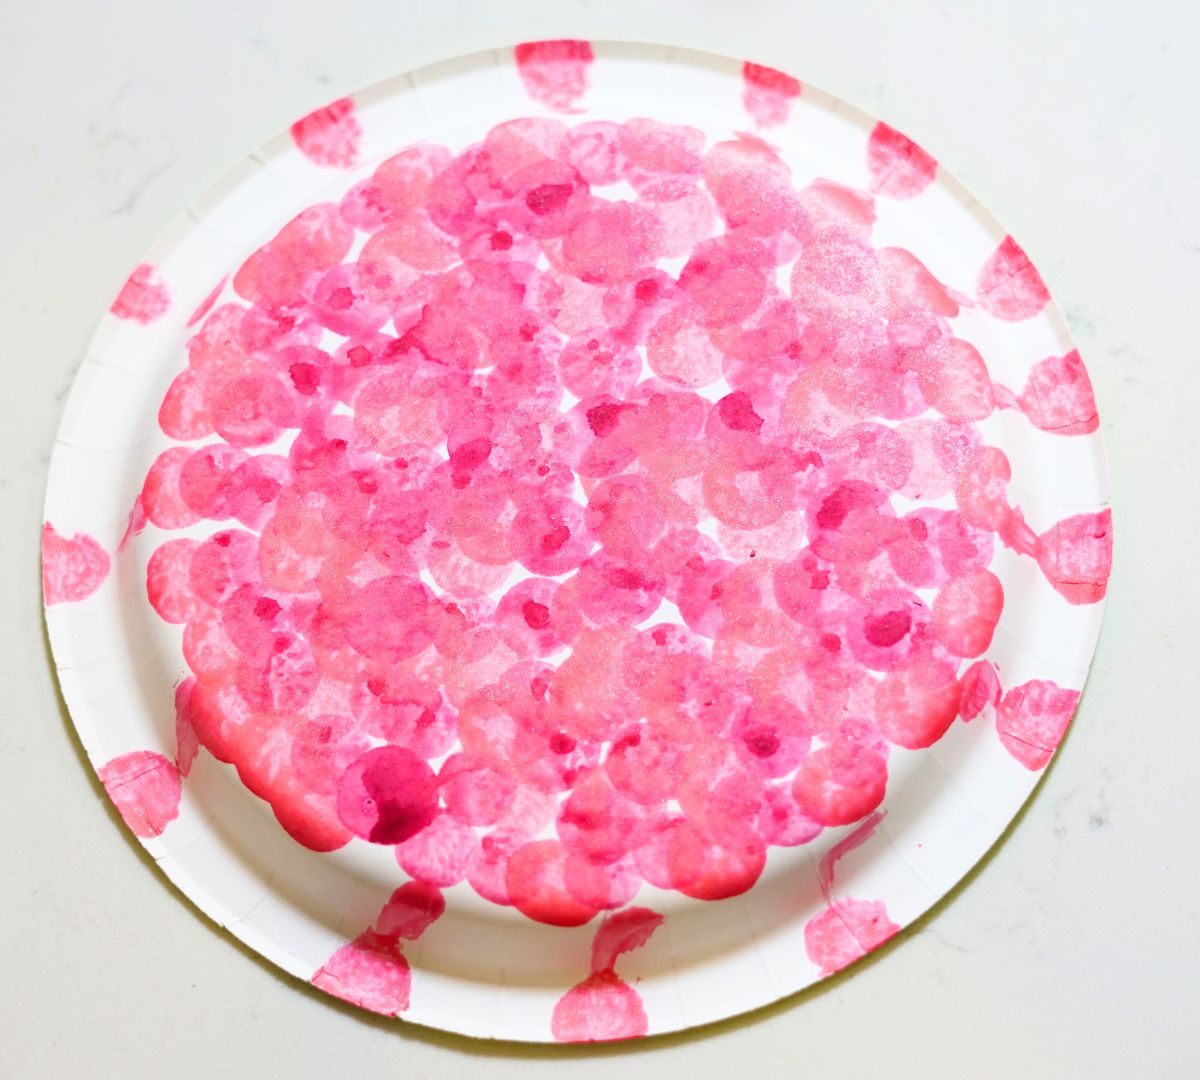
- Flip paper plate upside down and have your child use do-a-dot markers to color all over it!

If you don’t have dot markers you can use paint (takes a bit to dry) or regular markers. I prefer the way the dot stampers create more of a textured look so that’s what I recommend!
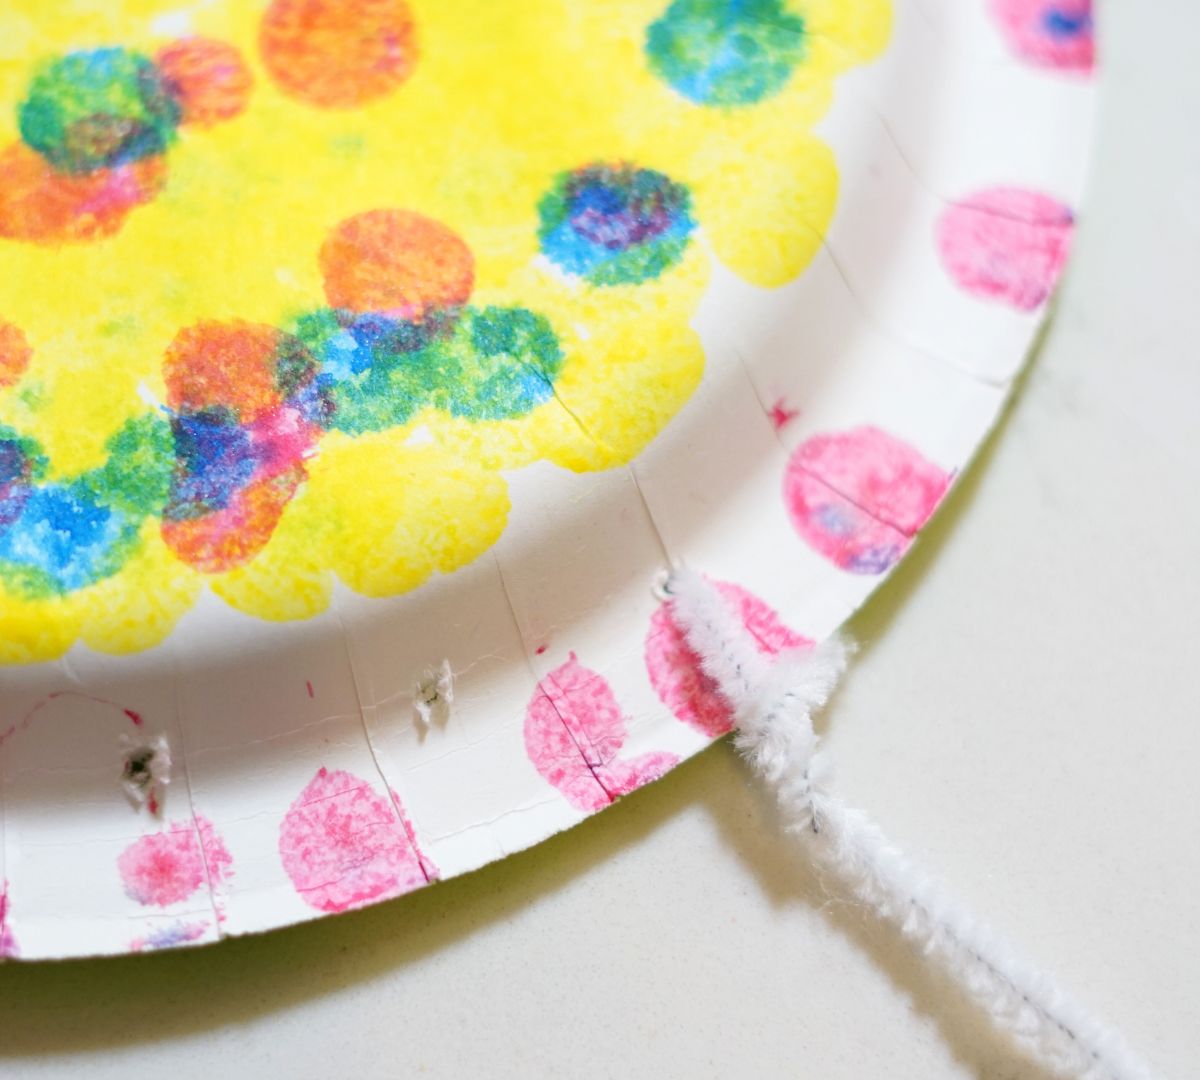
- Use a hole punch (or (adults only!) use the sharp end of a pair of scissors if you can’t find your hole punch like me…) to put 6 holes around the rim of one side of the paper plate. You don’t want “tentacles” coming out of the jellyfish’s head!
- Wrap one end of a pipe cleaner through each of the holes.
Repeat this step with the remaining holes.

- Have your child string pony beads on to the bottom of the jellyfish tentacles (pipe cleaners). They can string beads all the way up or string just a few on the very bottom. Let your children decide what they like best!
- I like to zig zag the tentacles back and forth for a wiggley effect and we all opted to make faces for our jellyfish with googley eyes and a black sharpie.




I opted to use the same colors on each tentacle because I thought it was cute. My daughter did her own sweet thing.. I think her jelly’s little face is my favorite!

One of my sons made a “WWII jellyfish” and says it’s USA vs Germany! I love the way his interest in our current history topic is spilling over into his artistic expressions. My oldest enjoyed making his own jellyfish his way! He’s 10 so this craft didn’t hold his interest as long as my preschooler, but he enjoyed making and displaying his jellyfish.

Give this cute craft a try – I’d love to see you share & tag @momlifemadeeasy on Insta if you make it!
More Fun Ocean Ideas:
Pin This for Later